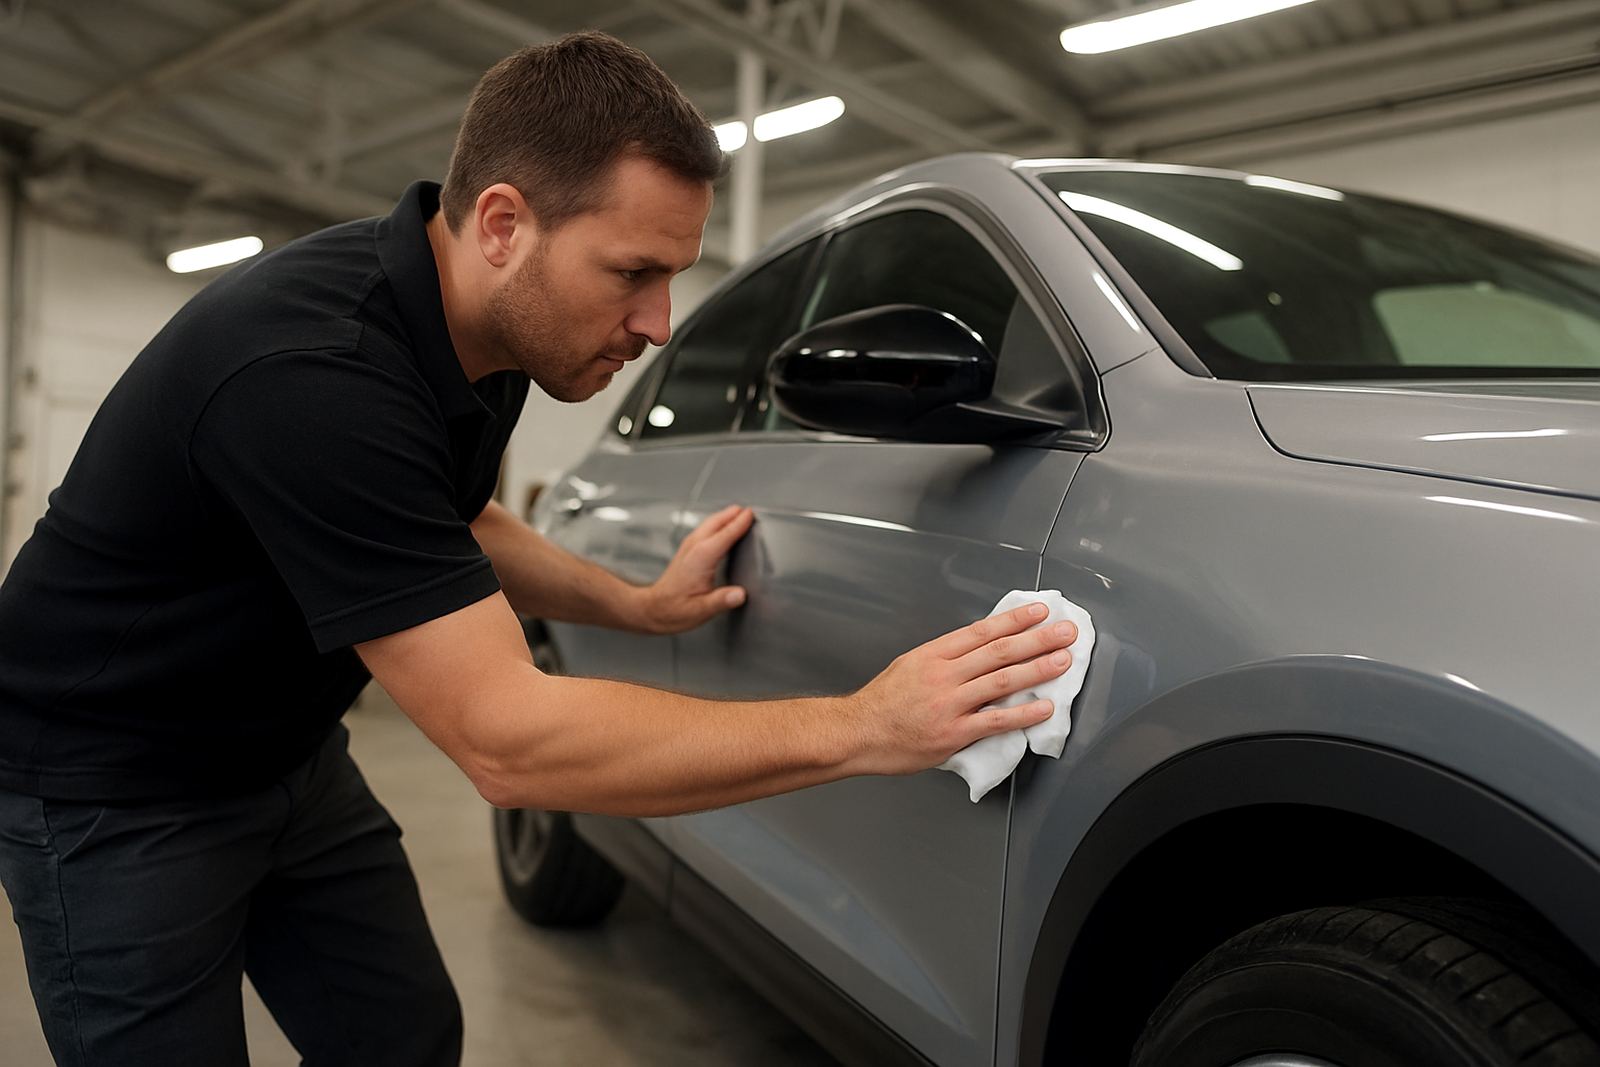
Why Surface Prep Matters Before Any Wrap
A wrap can only bond properly when the paint, panels and trim are prepared the right way. Dust, polish residue, tar, silicone, wax, road film and old adhesive all create weak points. In Johannesburg traffic, and especially on fleet vehicles that work hard every day, those small issues can cause lifting at edges, bubbles and a shorter service life. Good prep reduces the chance of rework and helps the finish sit flatter on curves, handles and bumpers.
We treat prep as a proper stage of the job, not a quick wipe down. That means checking the condition of the paint, looking for chips or oxidation, and making sure the vehicle is suitable for the chosen service. A clean surface also helps with consistency across a full fleet, where one neglected panel can throw off the whole set. For commercial clients, that matters because the vehicle has to look tidy from day one and stay that way through daily use.
What Is Included In The Prep Process
Our surface preparation varies slightly by vehicle type and service, but the core steps stay the same. The aim is to remove contamination, improve adhesion and flag any issues before fitting starts. On a full colour change or fleet wrap, we go deeper than on a smaller accent job because the coverage area is much larger.
- Pre-inspection of paint, trims, badges and panel alignment
- High-pressure rinse where suitable, followed by hand wash with pH-neutral cleaner
- Tar, sap, road grime and adhesive removal
- Clay or decontamination treatment where needed
- Final wipe with approved panel cleaner before installation
- Edge, seam and recess inspection for lifting risk
- Masking or removal of small fittings where required for access
Where a vehicle has been previously wrapped, we also assess residue from old film and any damage left behind. If there are deep scratches, corrosion, repainted panels or bad resprays, we will point them out first so there are no surprises mid-job. That sort of honesty saves time and keeps the end result neater.
Step-By-Step: How We Prepare A Vehicle
The process starts with a walk-around inspection. We check the bodywork, note existing marks and identify areas that need extra care, such as textured plastics, fuel flaps, mirror caps and panel edges. On fleet work, we also match the vehicle to the agreed brand standard so the same prep method is applied across the whole group.
Next comes the wash and decontamination stage. We remove loose dirt first, then work by hand around badges, handles, lower sills and wheel arches where grime tends to build up. Once the vehicle is dry, our team uses dedicated cleaners to remove remaining oils and surface contamination. On colder mornings or during load-shedding disruptions, drying time can vary a bit, so we allow for that rather than forcing panels too soon.
Before fitting, each panel is checked again under proper light. If a panel shows edge damage, lifting clear coat or heavy stone chips, we advise the client before installation goes ahead. That is especially important for PPF and full wraps, where the film will show every problem underneath if prep is rushed.
Vehicles We Prep Most Often
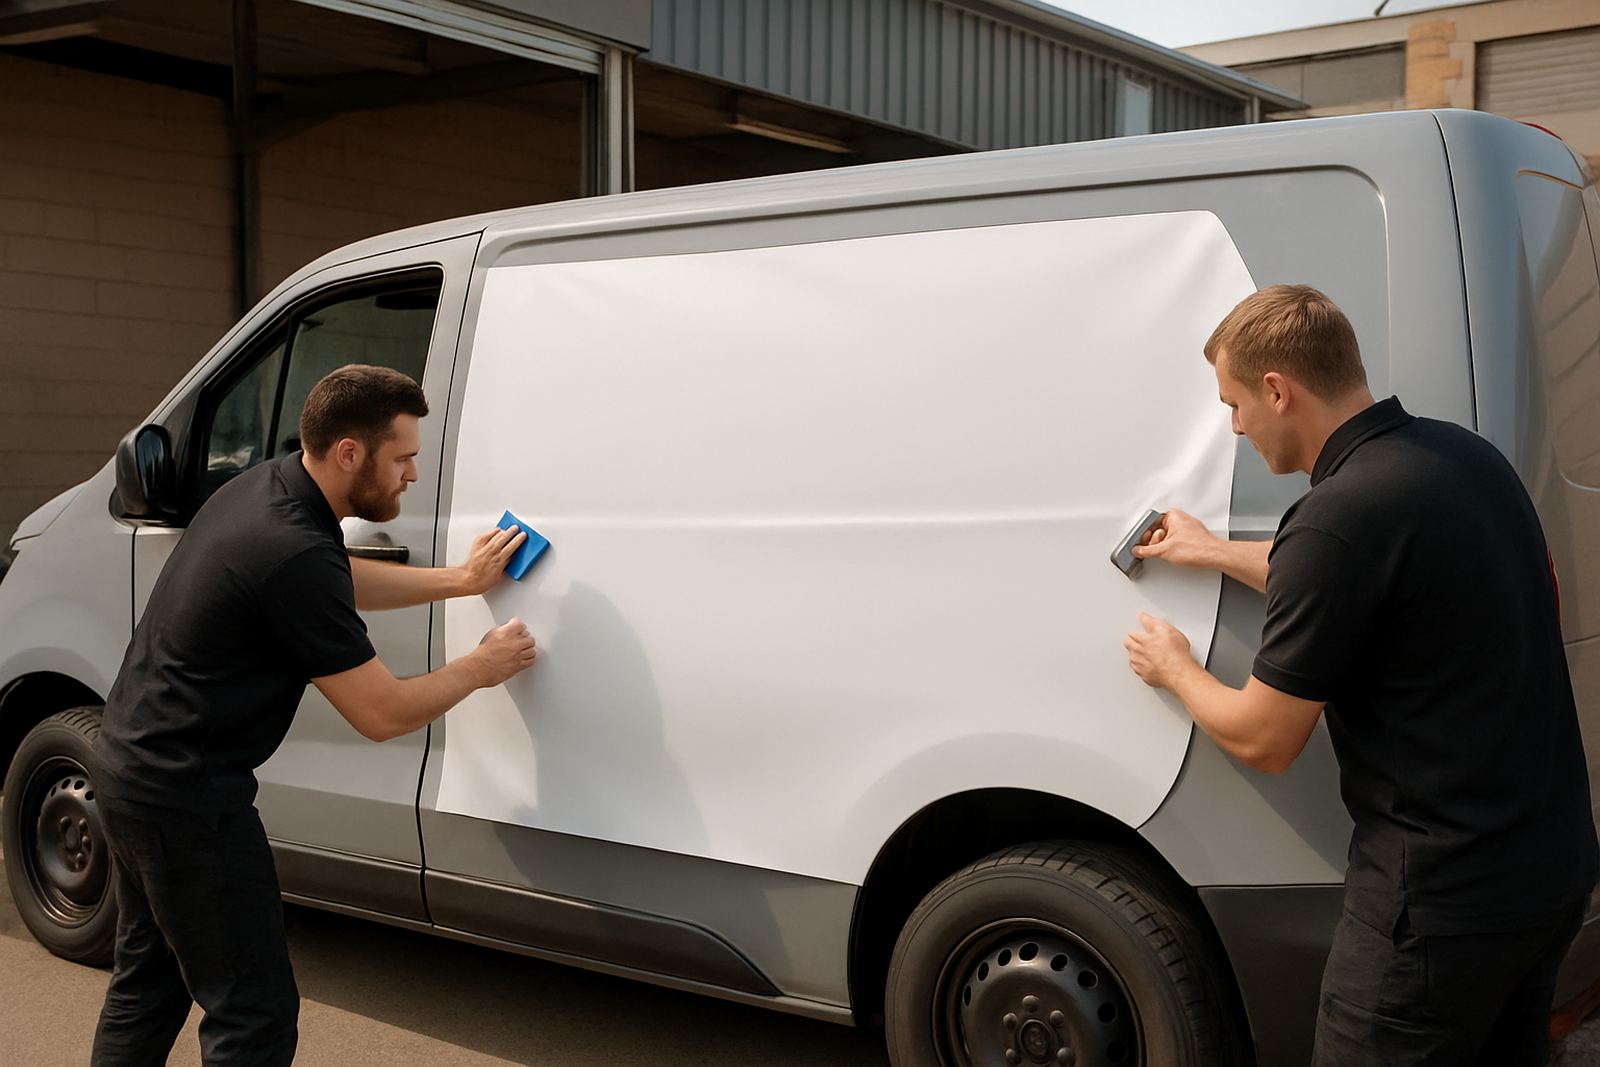
We prepare everything from compact hatchbacks to bakkies, SUVs, vans and full commercial fleets. Different vehicle types need different care. A delivery van with side loading, for example, usually carries more scuffing and adhesive residue than a private SUV. Bakkies often need extra attention around load bins, wheel arches and lower doors, while luxury vehicles may need softer handling around trims, sensors and delicate paint.
Coastal humidity, inland dust and long hours in the sun all affect how a vehicle presents on arrival. In Gauteng, fine dust can settle into seams and badges quickly, while Durban conditions can leave panels damp for longer than expected. That is why our prep team works to the vehicle, not a one-size-fits-all routine. For fleet operators, we can also schedule preparation in batches so vehicles are turned around in stages and not all off the road at once.
- Private cars and SUVs
- Company bakkies and service vans
- Full business fleets
- Promotional vehicles
- Wrap removal jobs before a new fitment
Turnaround Times And Pricing Approach
Surface preparation is normally included in the overall wrap, PPF or tint quotation rather than priced as a separate item, unless the vehicle needs extra correction or removal work. That keeps the pricing clear and makes it easier to compare full job costs. If a vehicle arrives heavily contaminated, has old vinyl residue, or needs badges and trims removed for proper access, we quote that additional labour first.
Simple prep on a clean, well-kept passenger vehicle can often be done within the same day before installation begins. Larger fleets, heavily soiled vehicles or wrap removal projects may take longer, especially when there are several panels to inspect and clean properly. We would rather give a straight lead time than promise a rushed finish and miss the mark.
For fleet clients, the price approach is usually based on vehicle count, condition and the level of access required. That makes it fair for a mixed fleet where one van may be easy to prep and another may need more time because of trade use, old signage or damaged trims.
Aftercare And Maintenance Checks
Prep does not end once the film is on. We always recommend a first check after installation, then regular maintenance depending on how the vehicle is used. For daily-use fleet vehicles, a visual inspection every 4 to 6 weeks is sensible. For private vehicles that are washed carefully and stored under cover, a check every 2 to 3 months is usually enough.
Look out for lifted edges, trapped dirt at seams, or signs of pressure washing too close to the panel edge. In South African conditions, dust, sun and road grime can build up quickly, so gentle cleaning matters. Use a soft wash method, avoid harsh solvents and keep the pressure washer away from cut edges. If a vehicle has been through a busy municipal route, construction area or coastal road salt, it is worth checking sooner.
- Wash with mild soap and soft mitts
- Avoid abrasive sponges and strong degreasers
- Keep high-pressure nozzles away from seams
- Park in shade where possible to reduce heat stress
- Report any lifting or contamination early
Key facts
| Prep scope | Wash, decontamination, residue removal, panel inspection and final wipe-down |
|---|---|
| Suitable for | Vinyl colour changes, fleet branding, PPF, tint and wrap removal jobs |
| Typical turnaround | Same day for clean single vehicles, longer for fleets or heavily contaminated vehicles |
| Condition checks | Paint chips, old adhesive, trims, badges, seam edges and resprayed panels |
| Pricing method | Usually included in project pricing, with extras quoted for correction or removal work |
| Maintenance interval | Visual checks every 4 to 6 weeks for fleets, every 2 to 3 months for private vehicles |