
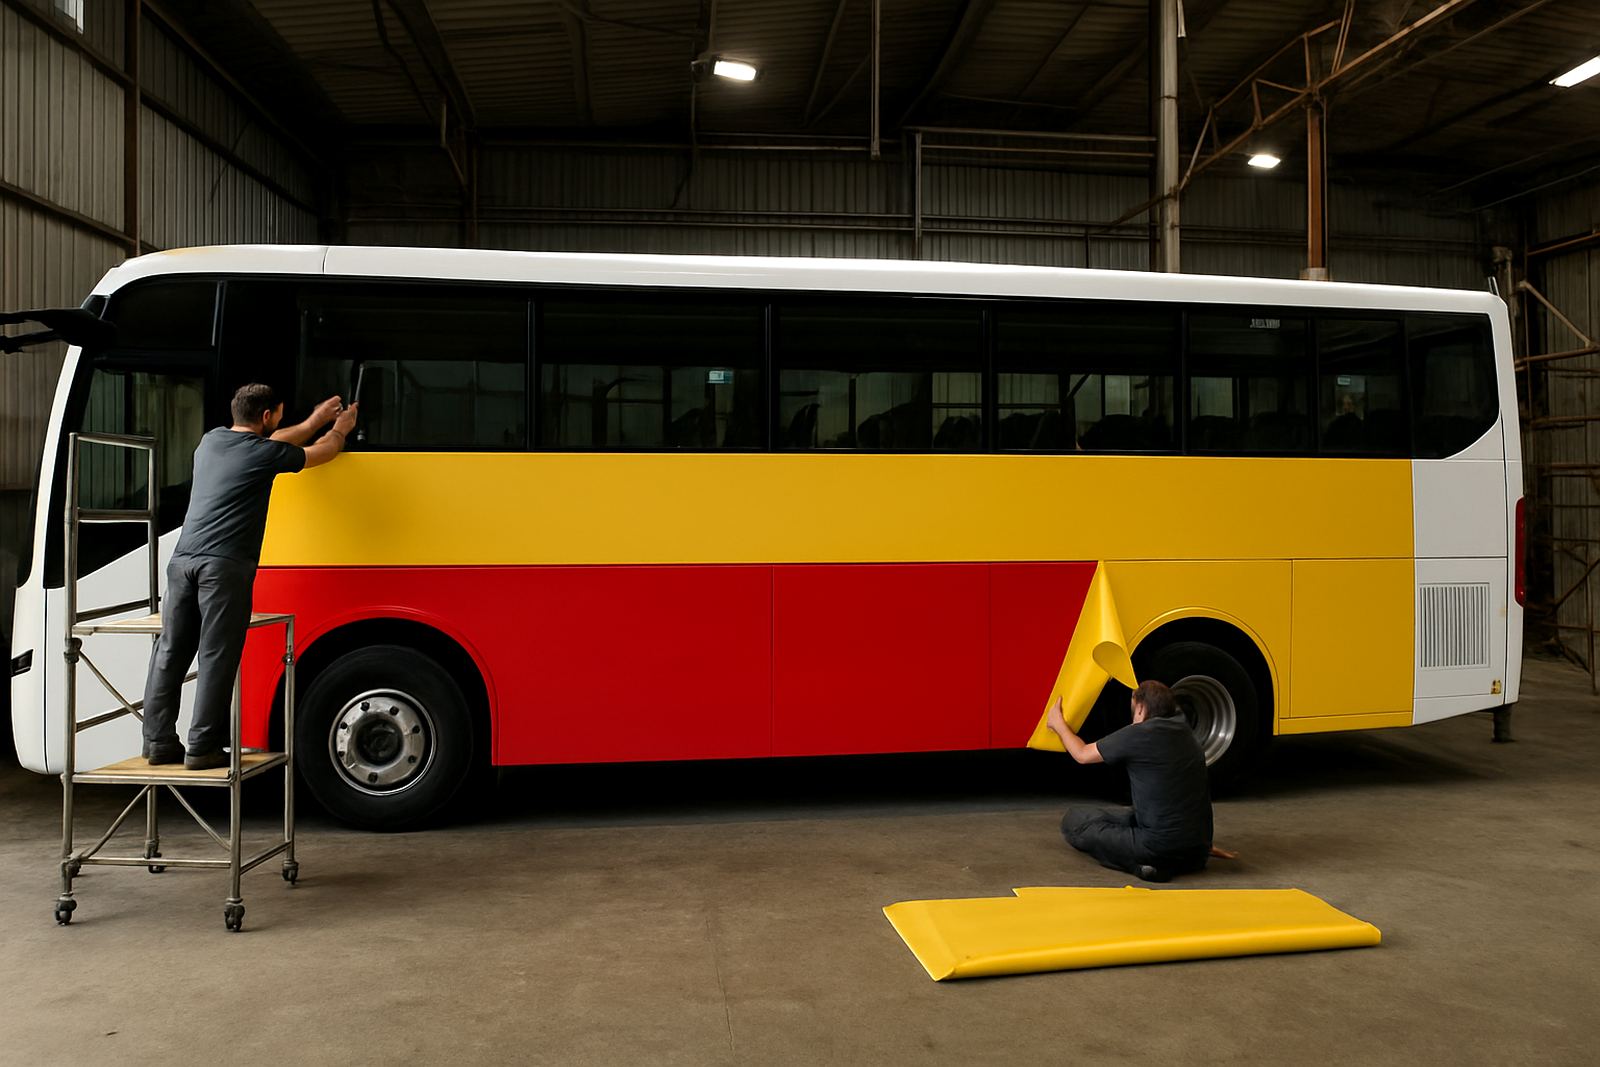
What a bus wrap does on the road
A bus wrap covers part or all of the exterior with printed or solid-colour vinyl so your message is seen at depots, stops, taxi ranks, office parks and along major commuter routes. It is used for brand names, route messaging, sponsorship artwork, service promotion and fleet identification. On larger vehicles, the side panels give enough space for readable copy, bold contact details and strong colour blocks that still make sense when the bus is moving.
For South African conditions, the vinyl needs to handle heat, dust, road spray and regular washing. On coastal routes, the adhesive and edge finishing must also cope with humidity and salt air. In Johannesburg and Pretoria, buses often spend long hours in sun and traffic, so colour stability and correct surface prep matter just as much as the artwork itself.
Bus wrapping can be applied as a full wrap, partial wrap, or panel-by-panel branding depending on the vehicle and budget. A clean install helps the wrap sit flat over curves and around rivets, vents, wheel arches and doors.
Common bus wrap sizes and build options
Bus wraps are normally planned around the exact vehicle body length, height, window lines and access points. A standard single-decker city bus can need around 10 to 12 metres of print length per side, while larger coach-style bodies may need more depending on the panel layout. Artwork is measured against the actual bus, not a generic template, because door placement and window spacing can change from one unit to the next.
Options are usually chosen by coverage level and how the vehicle is used day to day. Some fleets want full coverage for maximum impact, while others prefer lower half wraps or rear-end branding where the bus still carries route information and safety markings. We also work with reflective elements where needed for visibility and regulated fleet markings.
- Full bus wrap for maximum brand coverage
- Partial wrap for lower cost and faster turnaround
- Printed graphics with cut vinyl text and panel accents
- Gloss, matte or satin finish options
- Window-safe perforated sections where permitted
Where bus wraps suit best
Bus wraps suit commuter fleets, tour operators, staff transport, school transport providers, shuttle services, event transport and branded promotional units. They are useful where the bus travels the same routes every day and needs to be recognised quickly from a distance. If your service area includes busy roads, industrial zones, malls or airport runs, a wrap can keep working for you while the bus is doing normal duty.
They also suit businesses that need consistent fleet branding across several vehicles. When every bus carries the same colour standard, logo placement and contact format, your fleet looks more organised and easier to identify. That helps with reputation, and it also helps when vehicles are parked at depots or loading bays.
In Durban and other humid areas, the wrap specification should allow for regular cleaning and good edge sealing. In Gauteng, where vehicles often stand in strong sun, it is worth choosing materials and finishes that hold their colour and stay neat after repeated washing. Small businesses usually start with one or two buses, while larger operators often roll out branding in phases.
Installation process, access and site requirements
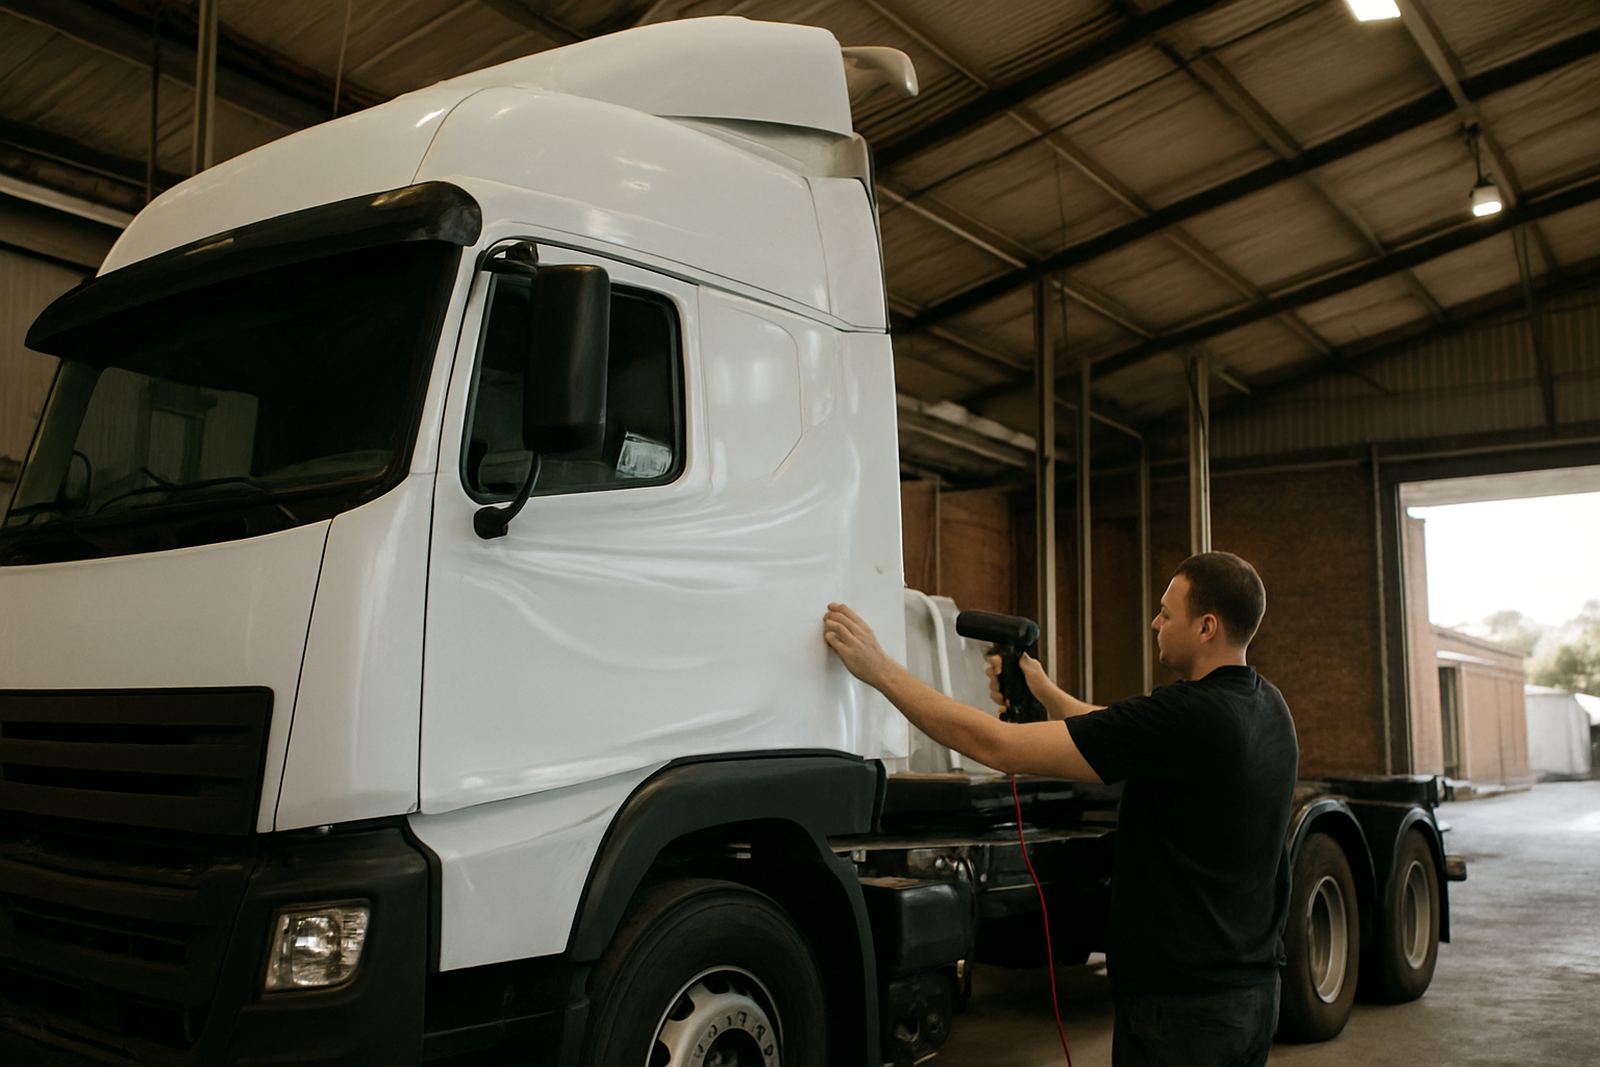
Before installation, the bus body is washed, degreased and checked for contamination, old adhesive, corrosion or surface damage. Any loose trim, broken lights or damaged seals should be sorted first, otherwise the wrap may lift or fail early. Surface preparation is the part many people underestimate, but it is the difference between a wrap that looks right for months and one that starts peeling at the edges.
We normally need a clean, dry working area with enough space to open doors and move around the vehicle. Indoor bays are best, especially for large panels and wind-sensitive material. Good lighting helps the installer see contamination and alignment, and in some cases temperature control matters for adhesive curing. No gas is needed. Standard power for lights and tools is usually sufficient, though a stable supply is useful for larger jobs and winter load-shedding planning.
- Clean wash bay or indoor installation area
- Access around both sides and rear of the bus
- Dry conditions with limited dust and wind
- Safe parking and enough time for curing
- Electrical supply for lighting and workshop tools
Care, washing and scheduled servicing
A bus wrap should be treated as a working finish, not a permanent painted surface. Regular washing keeps road grime from building up around edges and joins. Use mild soap, clean water and soft cloths or brushes, and avoid harsh solvents or high-pressure spray at lifted edges. If the bus works coastal routes or sits near industrial dust, more frequent washing will help the wrap stay presentable.
We recommend visual checks every few weeks for lifted corners, stone chips on leading edges, worn door areas and damage around fuel fillers or service panels. Small issues are easier to fix early. If one panel is damaged, it is often possible to replace that section rather than removing the whole wrap. That keeps downtime down and saves money.
Aftercare also matters after installation. Freshly wrapped buses should be left long enough for the adhesive to settle before aggressive washing. If the bus is going straight back into service, allow the install team to advise on the first 48 to 72 hours of care.
What to check before you order
When ordering a bus wrap, make sure the vehicle details, measurements and usage requirements are correct from the start. The wrap should match the exact bus model, not just the fleet type. A coach with a slightly different window line or bumper shape can affect artwork placement, and route signage needs to stay readable from the road.
It is also worth checking whether the bus will need regulatory markings, safety text, fleet numbering or window visibility allowances. Some operators need room for emergency information, route labels or company details that must stay legible. If the bus is subject to municipal or operator rules, the artwork should be set up before printing so there are no delays later.
- Exact vehicle make, model and year
- Side and rear measurements in metres and millimetres
- Any existing decals, damage or corrosion
- Route or compliance text that must stay visible
- Preferred finish and cleaning routine
- Deadline, depot location and parking access
Bus projects are handled with the same attention given to fleet work, from artwork setup and surface prep to installation and aftercare support. That helps keep the bus in service with minimal fuss, and the finished result stays neat under daily use.
Key facts
| Coverage options | Full wrap, partial wrap, rear branding or side panel graphics |
|---|---|
| Typical material | Printed cast or calendered vinyl with matching overlaminate |
| Finish choices | Gloss, matte or satin |
| Vehicle sizes | Single-decker, coach, shuttle and staff transport buses |
| Typical install time | 1 to 3 days depending on size and prep |
| Maintenance | Mild soap, soft wash and regular edge checks |