Start With The Bakkie’s Job On Site And On The Road
Before any artwork is cut, decide what the bakkie must do every week. A plumber’s single cab in Randburg, a maintenance bakkie in Midrand, and a fleet of utility vehicles moving through the East Rand all need a different layout. The branding should support the work, not fight with it.
Walk around the vehicle and note the areas that stay visible when the bakkie is parked, driven, loaded or opened. Doors, side panels, tailgates, canopies, bins and headboards all play a part. If the bakkie carries ladders, tools or stock, keep those high-traffic zones clear of important text so it does not get scratched or hidden. A good layout helps the vehicle read well in traffic and still looks clean at the job site.
- List the main viewing angles: side, rear, front three-quarter and parked at the curb.
- Check which parts are opened daily, such as doors, tailgates and canopy windows.
- Measure any accessories already fitted, including ladder racks, tow bars and canopy frames.
- Decide what must always stay visible, like phone number, web address and service area.
Use Doors, Bins And Tailgates In The Right Order
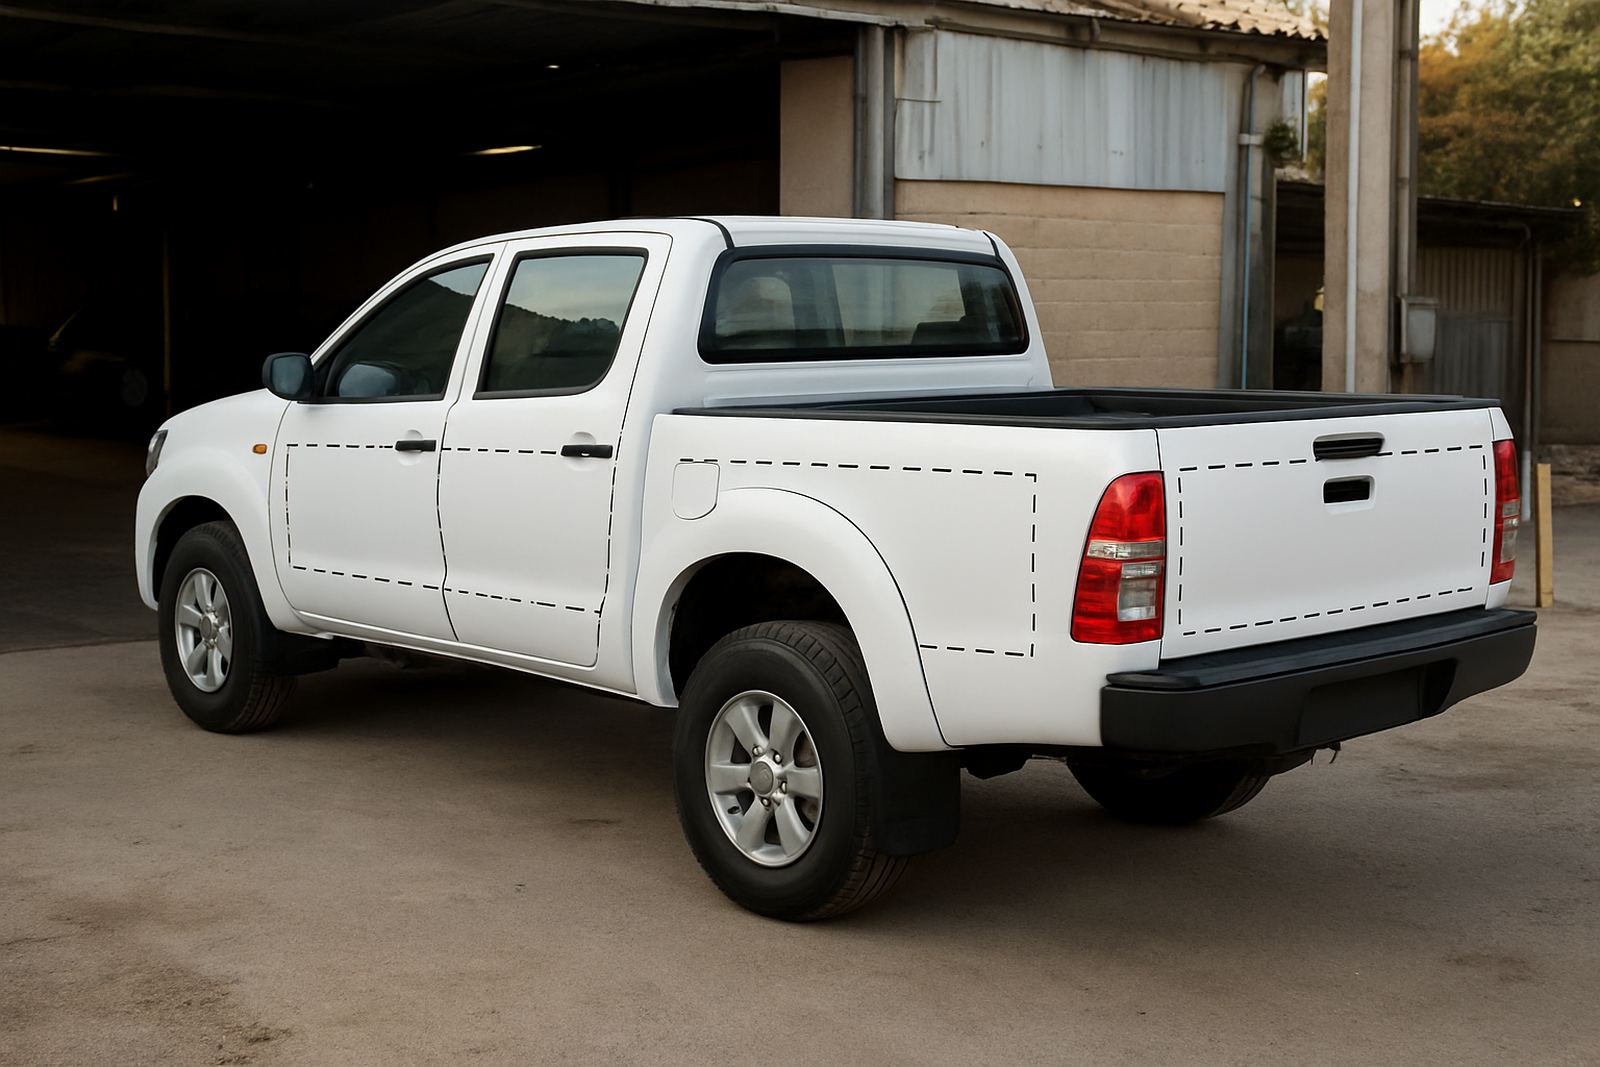
The doors usually carry the strongest brand message because they sit at eye level in traffic. On a work bakkie, this is often the best place for the company name, logo and contact number. Keep the lettering large enough to read from a few car lengths away, and do not crowd the door handles or side mirrors.
The load bin or canopy sides give you more space for a service list, but only if the vehicle spends time standing still at sites or in customer driveways. Tailgates matter more than many people think because they face drivers behind you at robots and in queues. A tailgate that carries a clear logo, phone number or QR code can work hard without needing full coverage. If the bakkie has a lot of boxy fittings, plan around them and do not force a design onto every panel. That usually looks clumsy and can make the bakkie harder to read.
- Put the main identity on the front doors.
- Use the bin sides for a short service line or trade list.
- Use the tailgate for contact details or a strong logo block.
- Leave at least a small quiet area around handles, locks and badging.
Brand Around Rails, Racks And Work Fittings
Most work bakkies carry rails, ladder racks, bins, canopies, tow points or tool fittings, so the branding must be planned around those items from the start. A clean wrap line can still work with roof rails and load bars, but only if the artwork allows for the shape and the fixing points. If the vehicle is used in coastal areas or on dusty sites, simple layouts often age better because they trap less grime and are easier to keep clean.
For fleet work, this stage is where consistency matters. Each bakkie should carry the same logo placement, same contact line and same colour balance, even if the body style differs. That way the fleet looks organised at client sites and on the highway. Avoid placing important text across panel joins, fuel caps or high-wear edges. Those areas get knocked, rubbed and opened often, so they are not the best place for key information. It saves repair time later and keeps the vehicle looking tidy.
- Map every rail, bracket and hinge before final artwork is approved.
- Keep critical text away from opening panels and fuel areas.
- Use repeatable placement across the whole fleet.
- Allow for dust, rain and frequent washing in the chosen finish.
Choose Colours And Finishes That Still Work In Job Light
South African working conditions are hard on vehicle graphics. Strong sun, load shedding parking lights, rain, road spray and building site dust all affect how a bakkie is seen. Light backgrounds can help dark logos stand out, while darker wraps often suit businesses that want a neater, more technical look. The right choice depends on the vehicle colour underneath, the working area and how much branding space you need.
Matt, satin and gloss finishes each have their place. Gloss can make colours pop, while satin hides small marks a bit better on daily work bakkies. If the bakkie is used in wet or coastal conditions, give extra thought to edge sealing and surface prep so the film stays put. Poor prep shows up quickly on hot days. Careful prep and fitting makes the difference between a vehicle that lasts and one that starts lifting at the corners after a few months. Small details matter here, especially on older fleet units.
- Match the finish to the job environment, not just the colour preference.
- Check how the wrap will look in shade, morning sun and under site lighting.
- Use clear contrast between body colour and text colour.
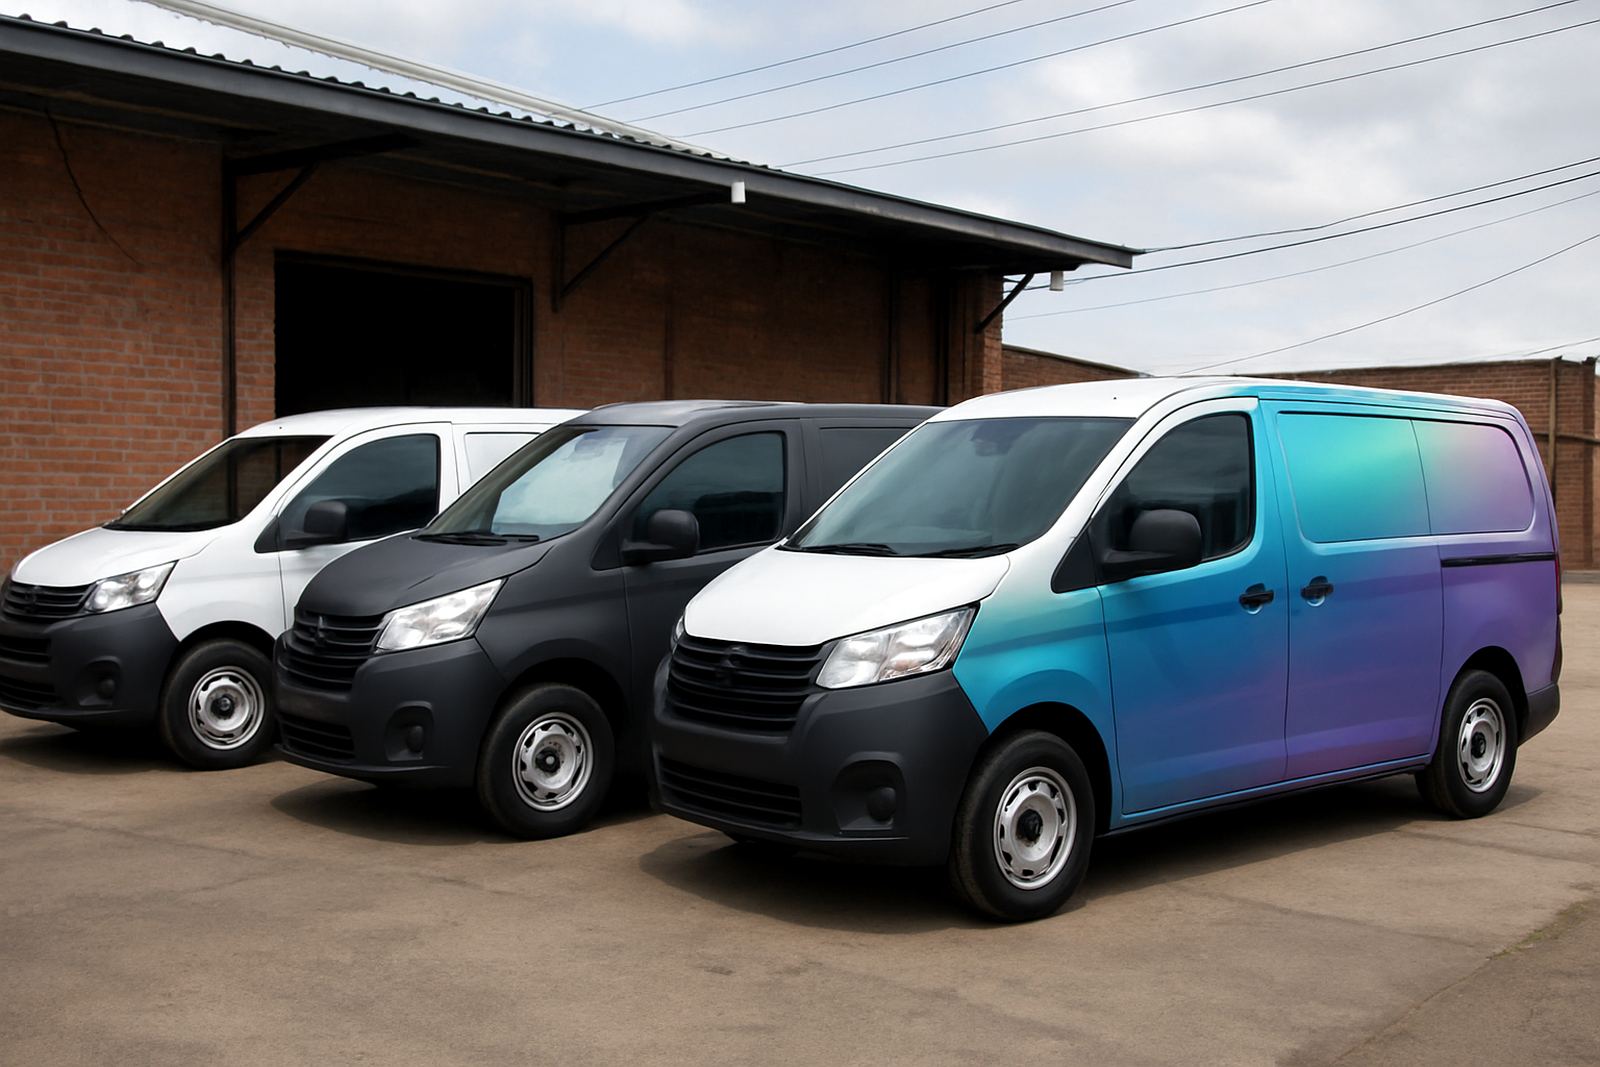
- Make sure the same colours stay consistent across vans, bakkies and support vehicles.
Keep Artwork Simple Enough To Read At Speed
A bakkie branding layout should be read in seconds. People often only see it for a moment at robots, on freeways or when passing in the opposite lane. That means the design must be simple, direct and free of clutter. Too many icons, too much text or small script fonts make the message weak.
The best layouts usually carry three things only: who you are, what you do and how to get hold of you. For example, a service trade bakkie may only need the business name, one short line of service detail and a phone number. If the vehicle is part of a larger fleet, add the area or division name only where it helps with sorting. Keep web addresses and message lines readable but not oversized. A bakkie should look professional without trying to say everything at once.
- Use one main logo position and one clear contact block.
- Limit services to the most important 3 to 5 items.
- Avoid tiny text that disappears in traffic.
- Test the layout by viewing it from 5 metres and then from across a parking bay.
Checklist Before You Send The Bakkie For Branding
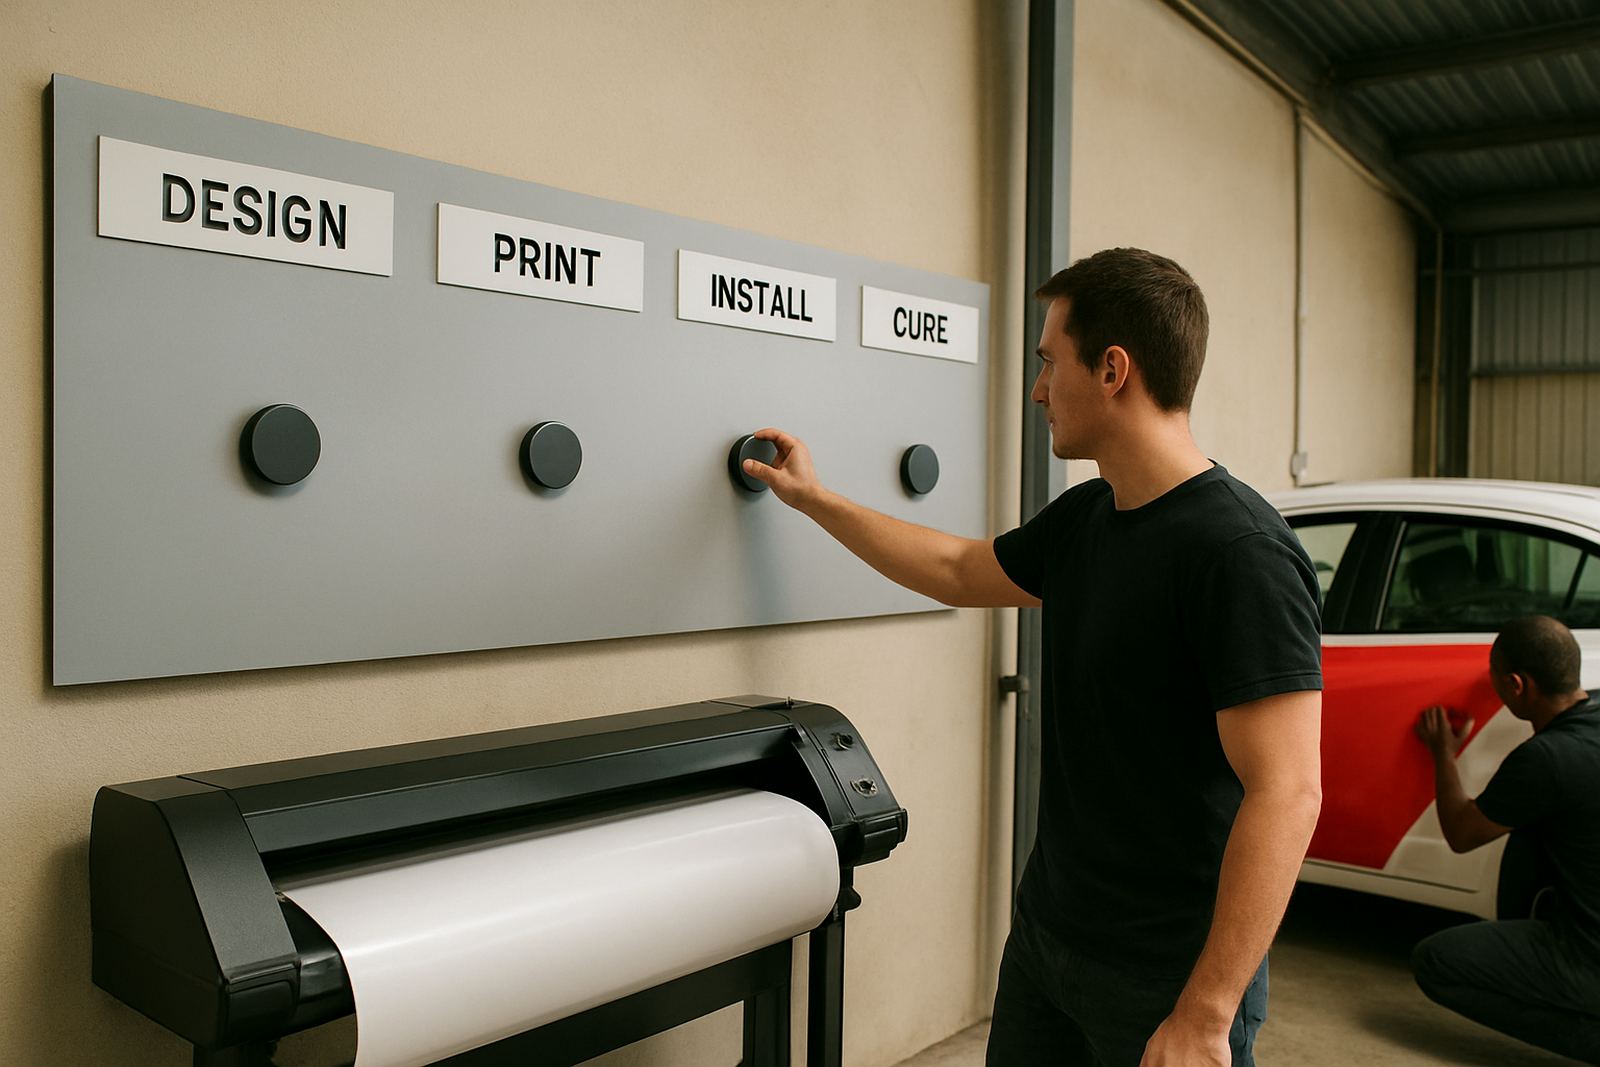
Good planning avoids delays and repeat work. Before fitting day, check the vehicle condition, confirm what accessories are staying on, and make sure the artwork matches the final body shape. If the bakkie has recently been repainted, washed with heavy chemicals or used on rough sites, it may need more prep than expected. A clean surface is essential for a proper bond.
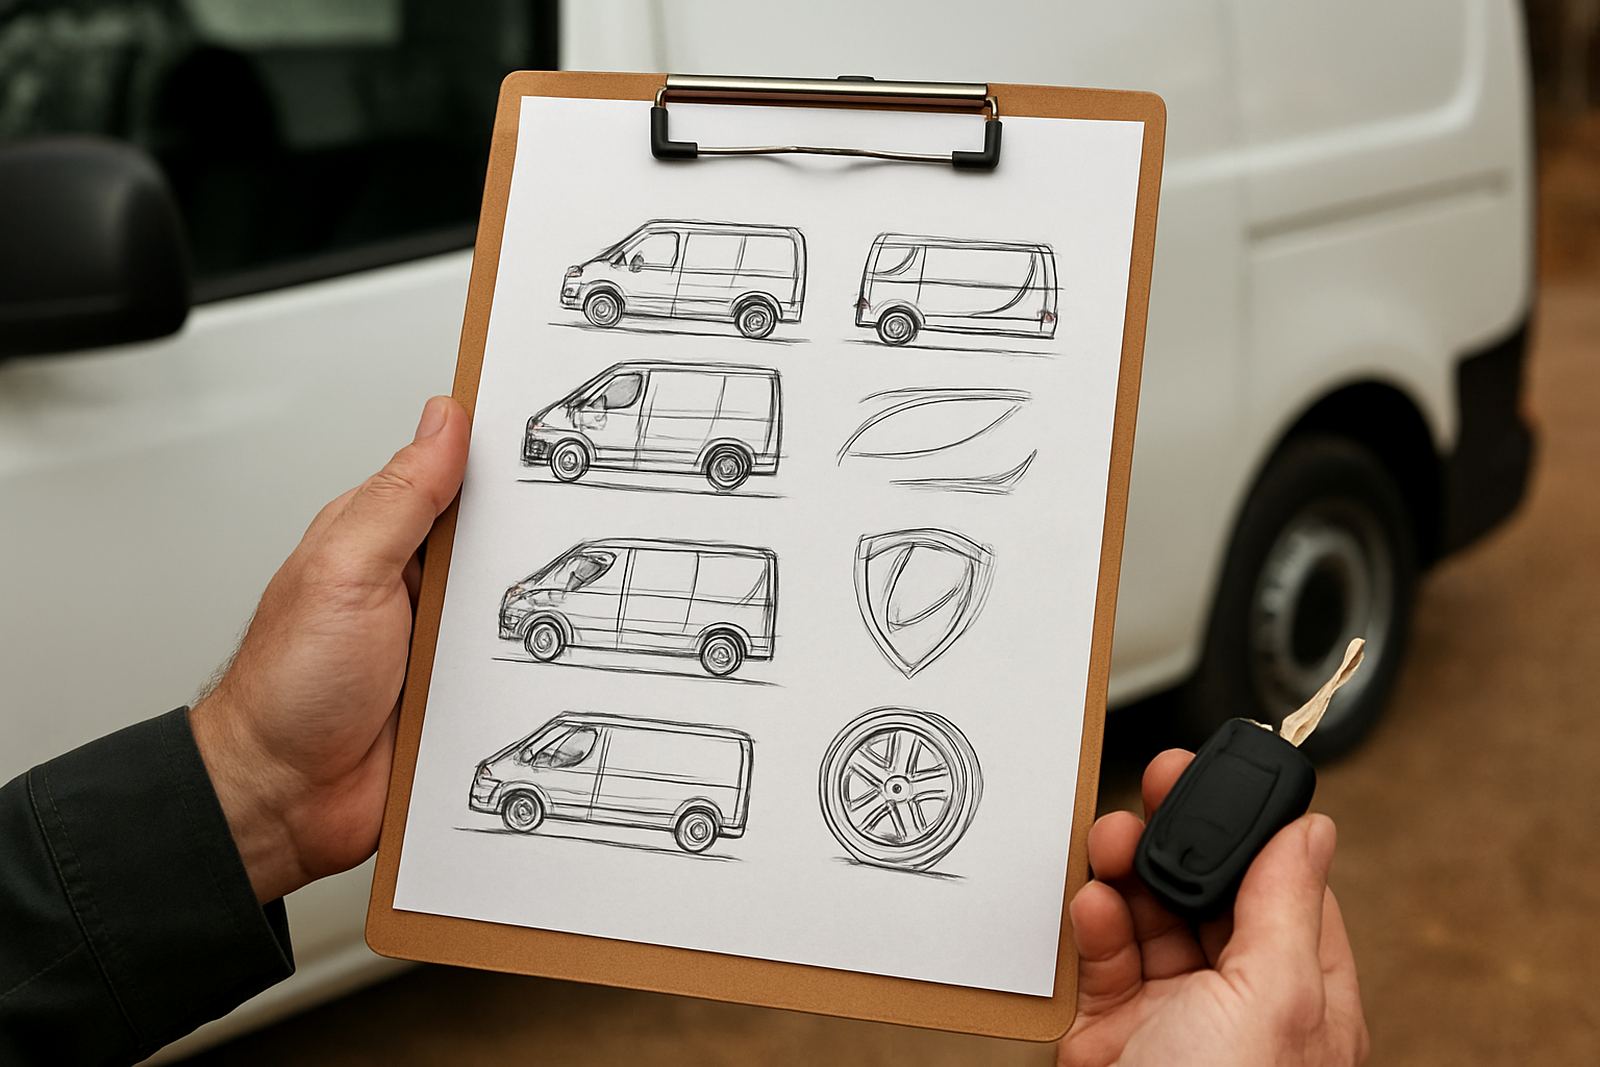
For fleets, it helps to keep a brand standard sheet with approved colours, text sizes and placements. That makes it easier when more bakkies are added later or when an older unit needs a panel replaced. After fitting, ask for simple aftercare notes so the driver knows how soon to wash the vehicle, where not to jet wash and how to handle edges and joins. That saves money over time and keeps the branding looking sharp. If a wrap section gets damaged, early repair is always better than waiting until the lift spreads.
- Confirm the exact vehicle model, cab style and bin size.
- Remove or note accessories that affect panel access.
- Approve the final artwork with phone numbers, spelling and spacing checked twice.
- Plan aftercare for washing, parking and load handling.