
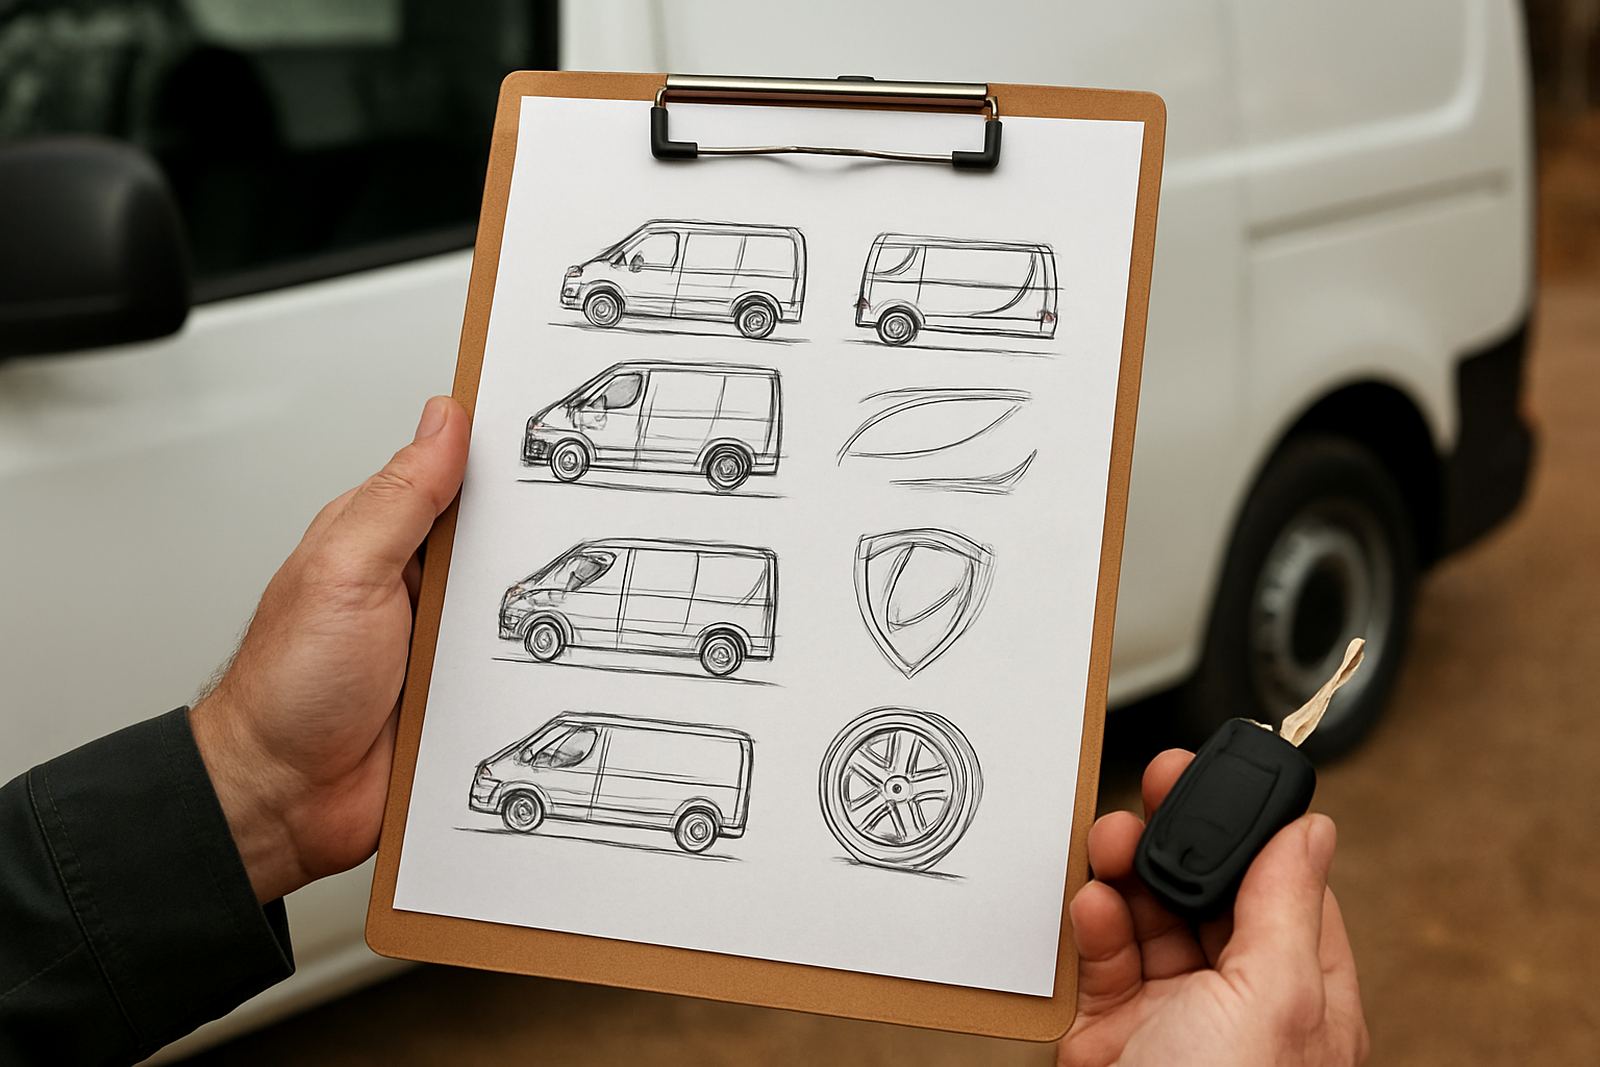
1. Start With the Fleet List and Vehicle Mix
Begin with a full fleet list, even if some units will only be wrapped later. Include the make, model, year, body shape, colour, and whether each vehicle is a sedan, panel van, hatchback, bakkie, SUV, truck, trailer or bus. A quote for 3 identical bakkies is very different from 3 mixed vehicles, because each one needs its own measured artwork and material estimate.
Also note which vehicles are still on order, due for replacement, or already out on the road. If the rollout will happen in phases, say so early. That lets the wrap team group vehicles by size and film type, and it helps avoid supply issues when one unit arrives late. Even a small typo on a reg number can cause confusion at install stage, so check the list before you send it.
2. Define What Must Be Wrapped and What Must Stay Visible
Not every fleet job is a full colour change. Some businesses want doors, bonnet, tailgate and quarter panels branded. Others need a full vinyl colour change, paint protection film on high impact areas, window tinting, or interior trims wrapped to match. Be specific about what must be covered, what must remain in the vehicle colour, and where badges, safety stickers, load ratings or legal markings must stay visible.
- Full wrap or partial wrap
- Colour change or brand application only
- Paint protection film on bonnet, bumper, mirrors and door cups
- Window tinting requirements for privacy or heat control
- Interior wrap areas such as trim inserts, consoles or door strips
- Wheel refurbishment for a matched finish across the fleet
If the fleet runs in coastal humidity or dusty industrial areas, mention that too. It affects surface prep, film choice and aftercare advice. If the vehicles work in load-shedding conditions and are often parked outside, that matters as well because heat, sun and long parking times can change the wear pattern.
3. Prepare the Branding Assets Before You Ask for Prices
The cleaner the brand pack, the quicker the quote. Send high resolution logos, vector artwork where possible, Pantone or colour references, and any brand rules for spacing, sizing, and wording. If you want the same look across every branch and vehicle type, include a simple fleet brand standard with approved placement, minimum logo sizes, and examples of what is not allowed.
It also helps to share photographs of the current vehicles from both sides, rear and front quarter angles. These photos show body lines, badges, handles, roof racks, sensors, rub rails and existing damage. A bumper dent or lifted paint can change prep time and may need attention before installation. If you already know the campaign message, list it now, even if the final print text is still being approved by management.
- Logo files in AI, EPS, PDF or high resolution PNG
- Brand colours and any exact matching notes
- Contact person for final approval
- Examples of approved vehicles or previous fleet work
- Copy for phone numbers, email addresses, websites and taglines
- Deadline for launch, expo, branch opening or contract start
4. Tell the Wrap Team How the Vehicles Are Used
A fleet that does short urban trips has different needs from long distance service vehicles or cross-border units. Explain whether the vehicles carry passengers, tools, food, stock, chemicals or loose equipment. This helps the team plan where to place film joins, what areas need extra protection, and whether a more durable finish is needed around loading points and door edges.
Share daily operating patterns too. If vehicles leave before 6am, return after dark, or rotate between depots in Kya Sand, Sandton, Midrand, the East Rand, Pretoria or Durban, the installation schedule must fit around that. A good brief also covers wash routines, parking conditions and who is allowed to sign off completed work. The more practical detail you give, the fewer surprises later on.
5. Set the Rollout Rules, Timing and Budget Range
Large fleet rollouts move better when there is a clear plan for sequence, downtime and budget. Decide whether the work must be done all at once or in batches, and say how long each vehicle can be off the road. Some clients can spare a van for a day, others need overnight fitment and same week release. If the vehicles need to keep earning, that timing needs to be written into the brief.
State your budget range honestly. You do not need to know every line item, but it helps the quoting team steer you toward the right solution from the start. Include whether you want price options for full wrap, partial branding, added PPF or tinting, and whether removal of old graphics is needed. If the fleet is leased, mention any return condition rules so the finish can be planned properly.
- Rollout date and preferred install window
- Maximum downtime per vehicle
- Budget range per unit or for the whole fleet
- Phased rollout or full simultaneous installation
- Lease return requirements and removal plans
- Need for aftercare support and maintenance guidance
6. Final Checks Before You Request the Quote
Before sending the brief, check that the list is complete, the photos are clear, and the files open correctly. Confirm the decision maker, the site contact, and the person who will hand over keys on install day. If the fleet is spread across branches, name every collection point and state whether the vehicles need to be brought to one studio or can be handled through a national bay network.
This last step saves time on both sides. It also helps the quote reflect the real job, not just an estimate based on one vehicle. A proper brief should tell the supplier what is being wrapped, when it must be ready, where it will happen, and who signs off the work. That way the rollout starts on solid ground and the fleet goes back to work looking consistent across every unit.