1. Quote, scope and booking the bay
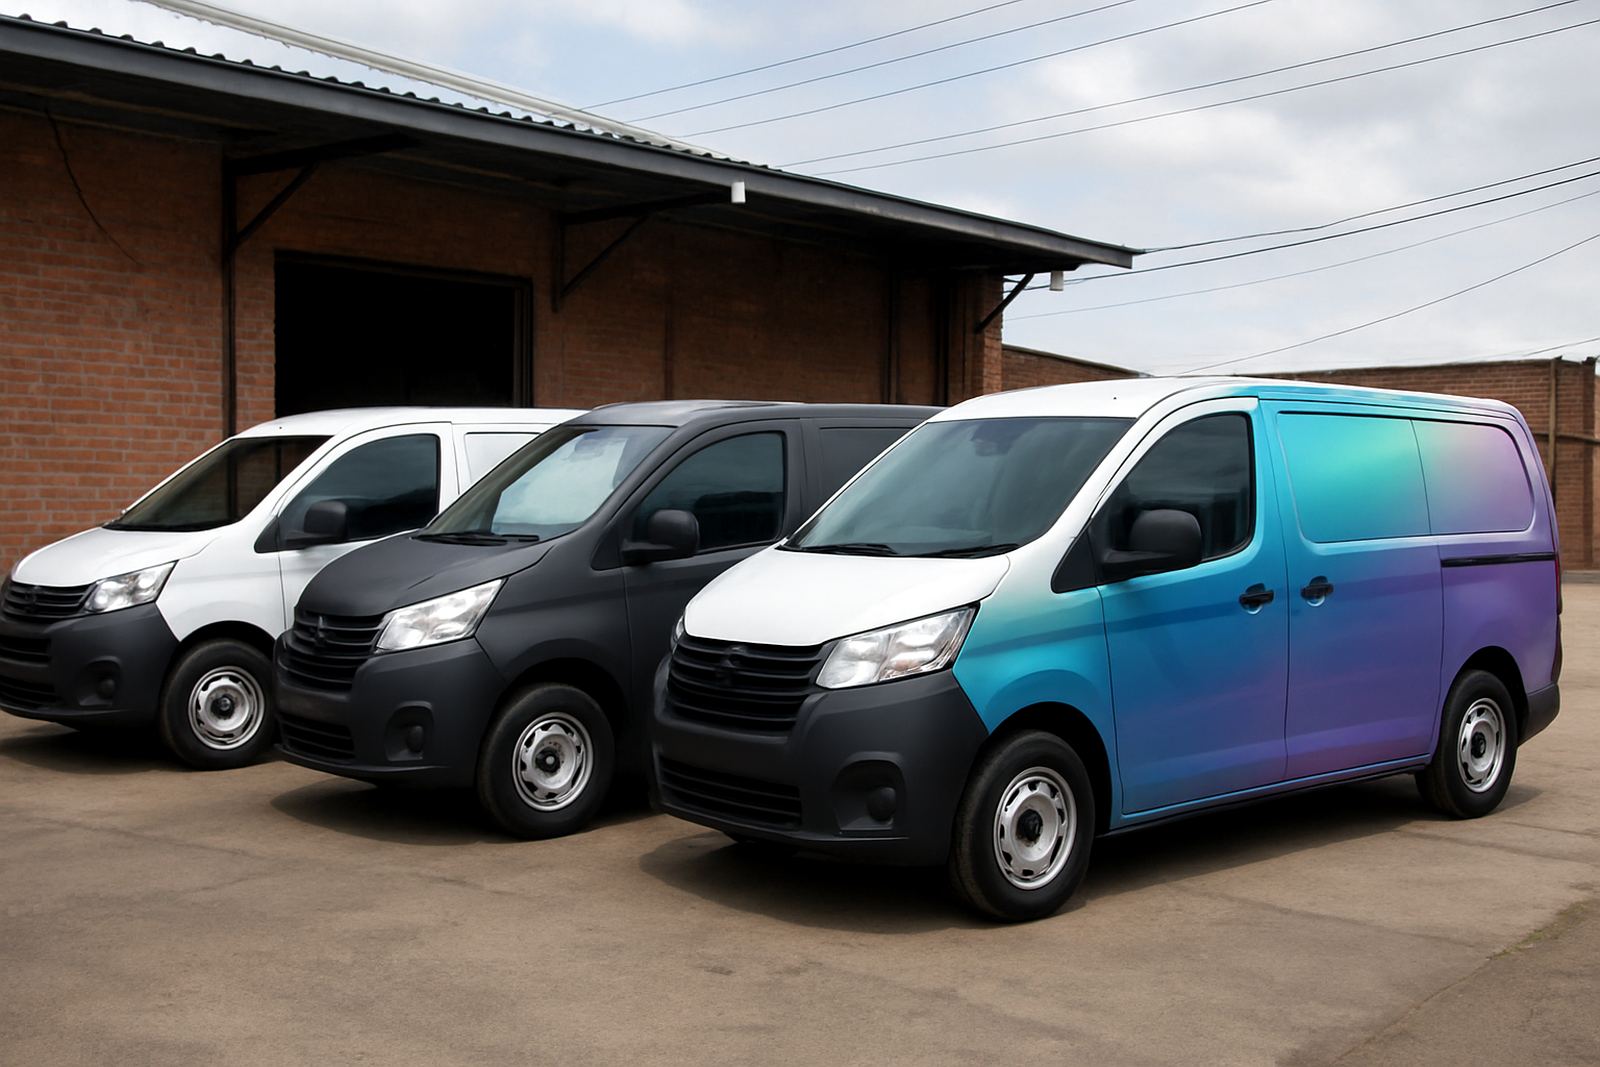
Every project starts with a clear scope. We confirm vehicle type, finish, coverage, whether you need a full colour change, partial wrap, PPF, tinting or a fleet mix, and the dates that suit your operations. For business vehicles we also look at branding rules so the same colours, logos and contact details stay consistent across every unit.
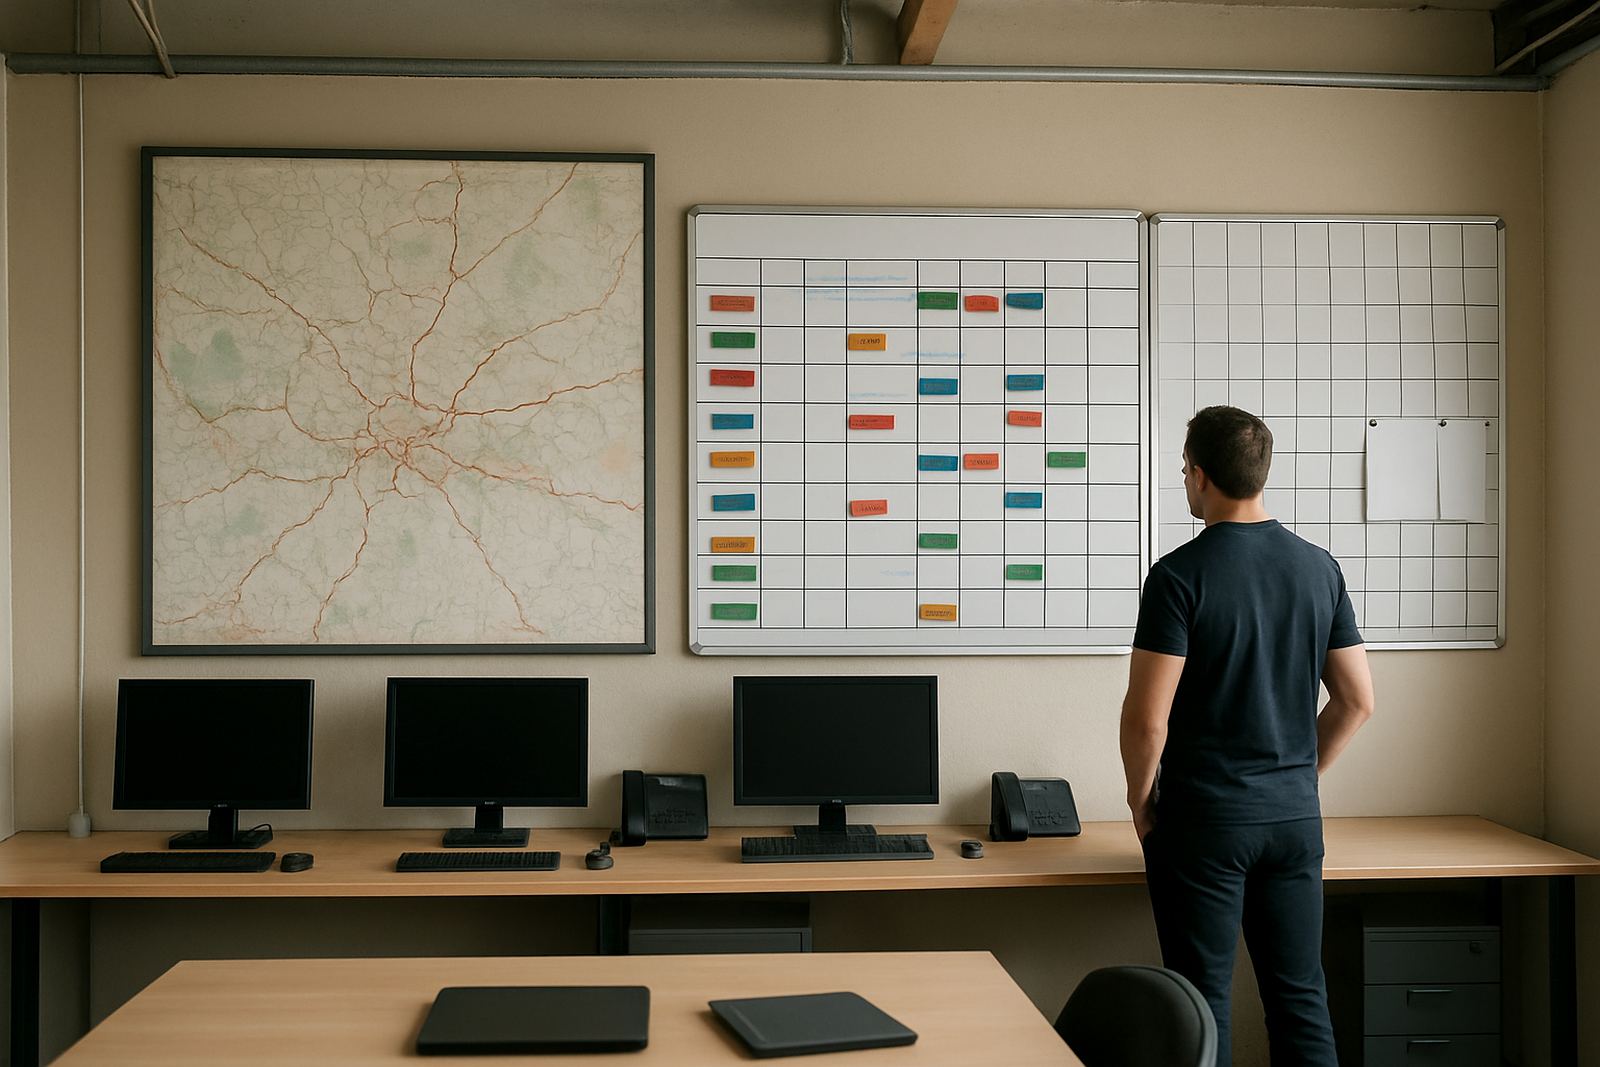
Once the scope is set, you receive a quote and a rough lead time. Small jobs can move quickly, while fleet work, artwork changes or imported film colours may need extra planning. In Kya Sand and across Johannesburg, bookings often depend on how long the vehicle can be off the road, so it helps to share your schedule early.
- Vehicle registration details and make or model
- Photos of all sides, plus any damage or previous wrap notes
- Colour, finish and coverage requirements
- Preferred dates and where the vehicle is based
2. Artwork setup and sign off
Once the scope is approved our artwork team prepares the layout. For fleet work, this is where brand standards are checked for colour match, logo placement, phone numbers and website details. If you need a vehicle to match existing company units, we use the same measurements and placement rules so the range looks uniform on the road.
You get proof files to review before production starts. Check wording carefully, because once the print is made or the cut vinyl is prepared, changes can add time and cost. A quick approval on day one can save a lot of back and forth later, especially when several vehicles are involved.
- Confirm spelling, numbers and email addresses
- Check logo size and placement on each panel
- Approve colours under normal daylight, not only on screen
- Ask for a mock-up if the vehicle has unusual curves or trims
3. Surface preparation before installation
Good prep matters as much as the film itself. Before installation, the vehicle is washed, decontaminated and inspected for chips, scratches, rust or old adhesive. If a panel has failed paint or loose trim, the installer will flag it first because wrapping over problem areas can shorten the life of the finish.
On coastal vehicles or work bakkies that see heavy grime, extra prep is often needed. In summer heat and during load-shedding periods, the workspace conditions are managed carefully so adhesive and panels behave properly. That is one reason lead times may shift by a few hours if the weather changes or a panel needs more drying time.
- Wash and degrease the bodywork
- Remove road tar, wax and old residue
- Inspect paint condition and panel edges
- Mask or remove fittings where needed
4. Installation day and curing time
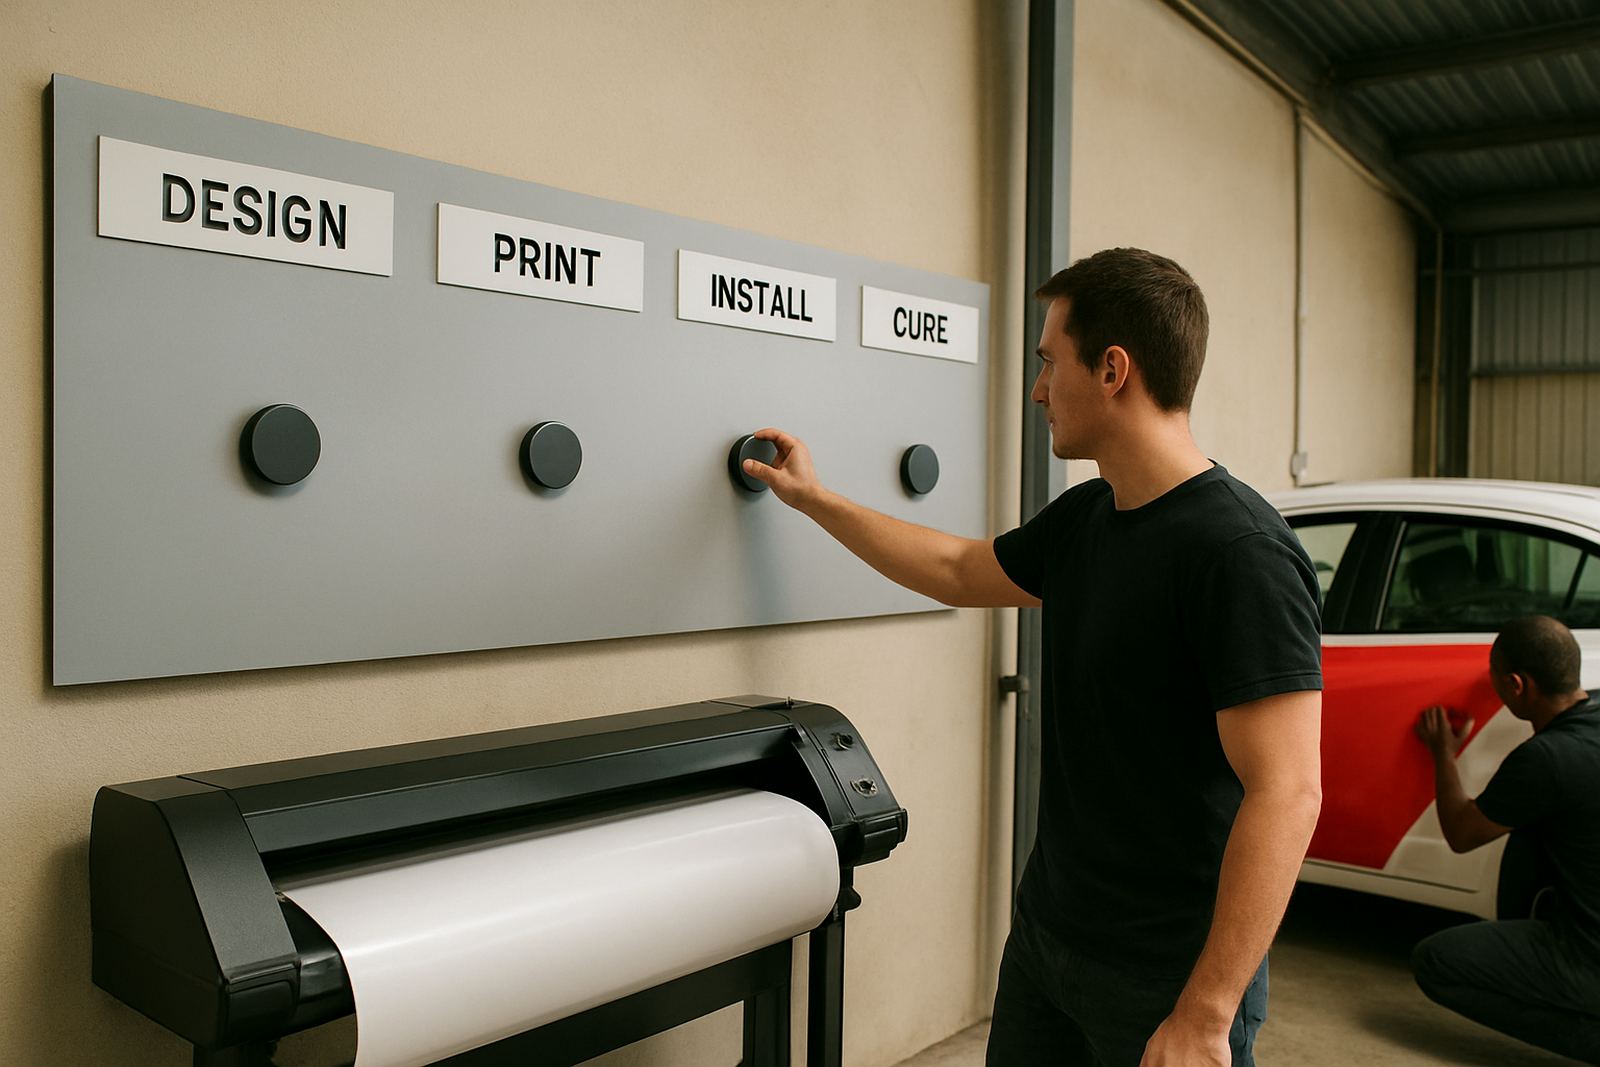
This is the stage most clients wait for. The installer positions each panel, applies the film and checks alignment before trimming. For full colour changes, the process can take longer than a simple logo application because door handles, mirrors, bumpers and hard edges need careful finishing. PPF and window tinting follow a different sequence, but both still depend on a clean surface and the right curing time.
After installation, the vehicle should stay dry and undisturbed for a short period while the adhesive settles. Avoid washing or high-pressure cleaning too soon. If your vehicle must return to work immediately, we will explain the safest operating window so you know what to expect.
- Allow enough time for doors, trims and badges
- Keep the vehicle sheltered from rain and dust after fitment
- Do not wash the vehicle immediately unless advised
- Report any lift lines or bubbles within the first few days
5. Fleet handover and quality check
Before handover we inspect each vehicle against the approved artwork and fitment standard. This includes panel edges, cuts around handles and lights, badge alignment and any required touch-ups. For fleet projects, we also check that every unit matches the same layout so the group presents one clean company image on the road.
At handover you will get care notes, maintenance advice and guidance for wrap removal or future updates. If your vehicles travel between Sandton, Midrand, the East Rand or Pretoria, we can advise on wash frequency and what to do after dust, rain or long highway runs.
- Review the vehicle in daylight where possible
- Confirm registration numbers and unit IDs on each vehicle
- Collect aftercare notes and wash instructions
- Record any follow-up items while the vehicles are still on site
6. Aftercare, repairs and future updates
Aftercare starts on the day you collect the vehicle. Gentle washing, careful parking and quick attention to chips or lifted edges will help the wrap last longer. PPF and tinting need the same common-sense handling, especially in hot weather or where vehicles work around construction dust and tight loading bays.
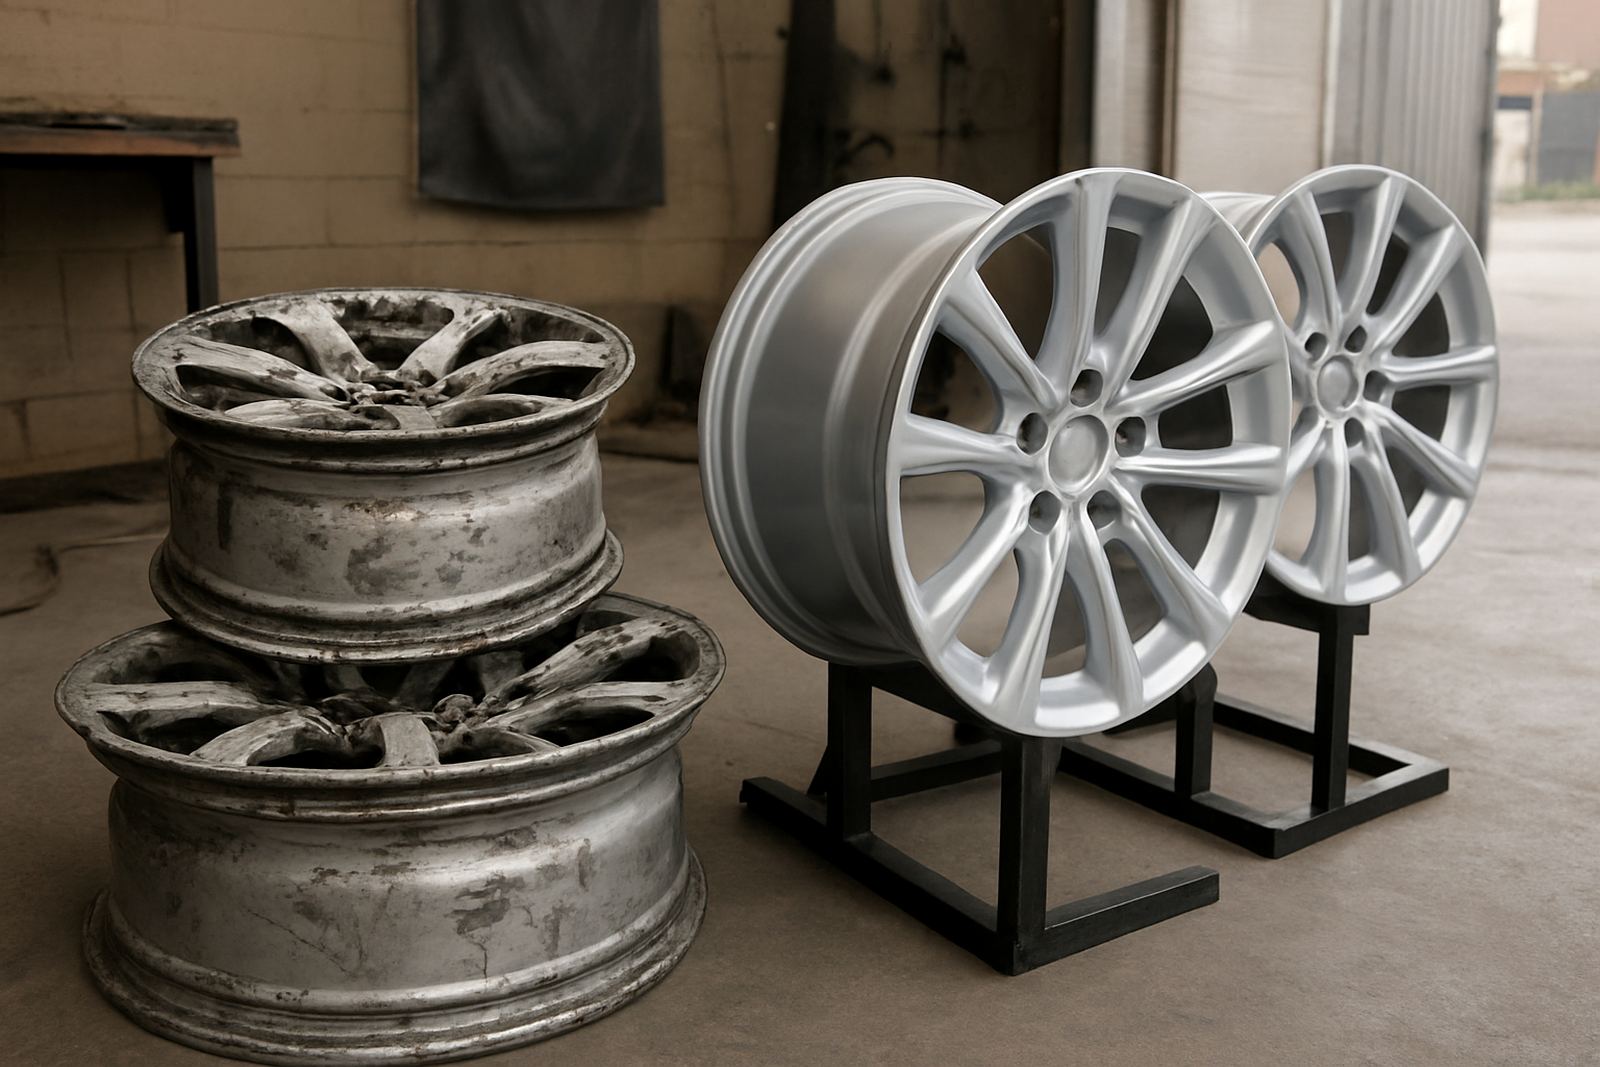
If your branding changes later, wrap removal and re-fit work can be planned in stages so the fleet stays active. We also help with interior restyling and wheel refurbishment when a full refresh is needed. Keep your records, because matching a previous colour or film batch is easier when the original details are on file.