Start With the Vehicle, Not the Artwork
Before a single graphic is drawn, the vehicle needs to be measured properly. A bus, taxi-bus or coach has long sides, curved corners, handles, service hatches and plenty of glass. If the layout is planned from a flat mock-up only, important text can land across a seam or disappear behind a window line.
At our Kya Sand base, we begin by checking the exact model, body length, window spacing and any fitted extras such as roof hatches, trim strips or rear cameras. This matters on passenger vehicles because a small change of 50 mm can shift a logo out of position. For fleet work, consistency across units is just as important as the first install, especially when one vehicle is a little older or has had a panel repaired.
Clear planning also helps with South African operating conditions. Vehicles running between Johannesburg, Pretoria and the East Rand face strong sun, dust and plenty of stop-start traffic. A layout that looks good in the workshop must still read from a taxi rank, a depot gate or a highway lane at speed.
Use Window Areas Carefully
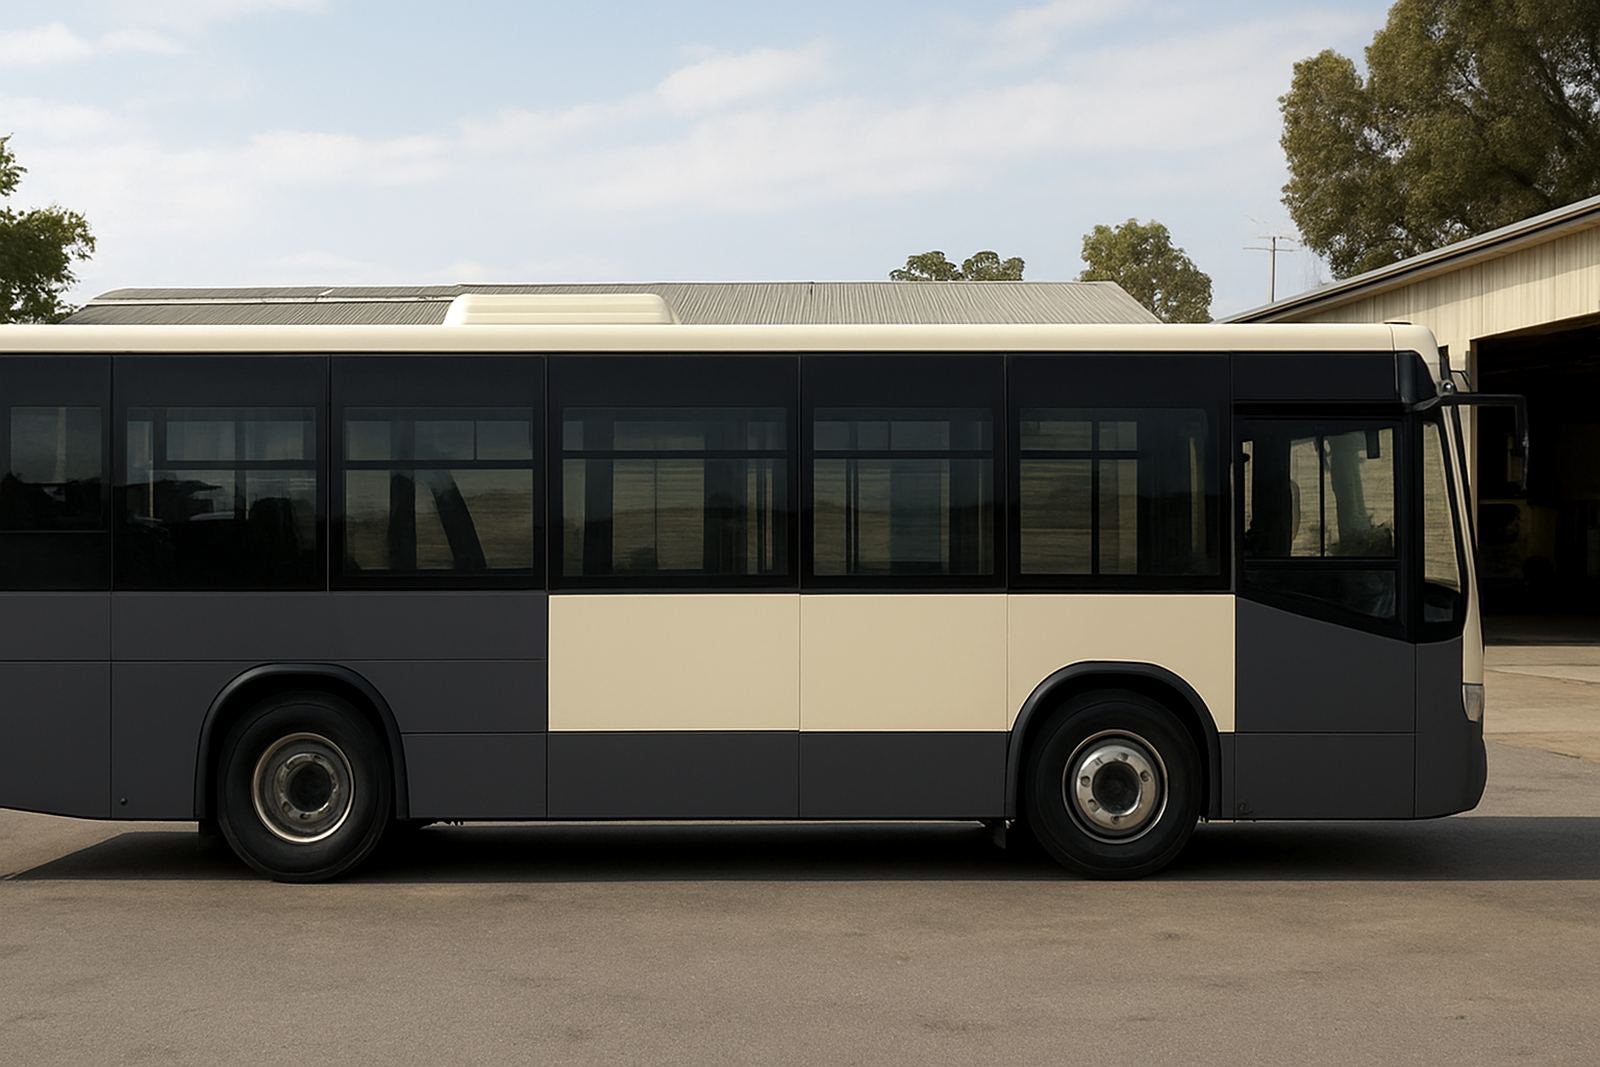
Large passenger vehicles often have more glass than metal, so the windows must be treated as part of the overall design. Some operators want full coverage for privacy and brand presence, while others prefer partial graphics that keep the cabin bright. The right choice depends on route, safety rules and how much of the vehicle’s side you want to use for messaging.
Tint film can reduce heat and glare, but it must be selected with care. Darker film can help with comfort in summer, yet the legal shade limits still need to be respected. On front side windows and windscreens, compliance is especially important. In practice, the vehicle should remain easy to inspect and safe for the driver and passengers.
- Leave essential sight lines clear for the driver and conductor.
- Avoid placing critical phone numbers over window splits or emergency exits.
- Check local rules before covering side glass with printed film.
- Allow for the slight distortion that comes with curved glass.
A neat tint install can also give printed panels a cleaner border, which helps the whole bus feel more organised. That small detail often gets missed, but it changes the finished look a lot.
Build the Brand Around Reading Distance
Bus graphics are usually read from a distance first, then up close. That means the main message should be simple. A large logo, one or two key services and a clear contact number usually work better than a long block of copy. If the vehicle is moving, people have only a few seconds to take it in.
For Johannesburg traffic, this becomes even more important. A bus sitting in traffic on Malibongwe Drive or heading through Sandton has many viewers, but very little time. Big letters, strong contrast and clean spacing make the brand easier to recognise. Dark-on-dark looks can seem stylish in a studio and fail badly on the road.
When we plan a bus wrap, we look at the side panels as advertising space, not just surface area. The design should guide the eye from front to back without crowding the windows. If the vehicle carries multiple routes or branches, each unit still needs a consistent family look so the fleet reads as one operation.
Choose Materials That Match the Job
Not every vehicle cover or printed film suits long-distance passenger work. A bus that spends hours in the sun, gets washed often and carries heavy passenger loads needs materials that can cope with heat and movement. The adhesive, print finish and edge sealing all play a part in how long the job lasts.
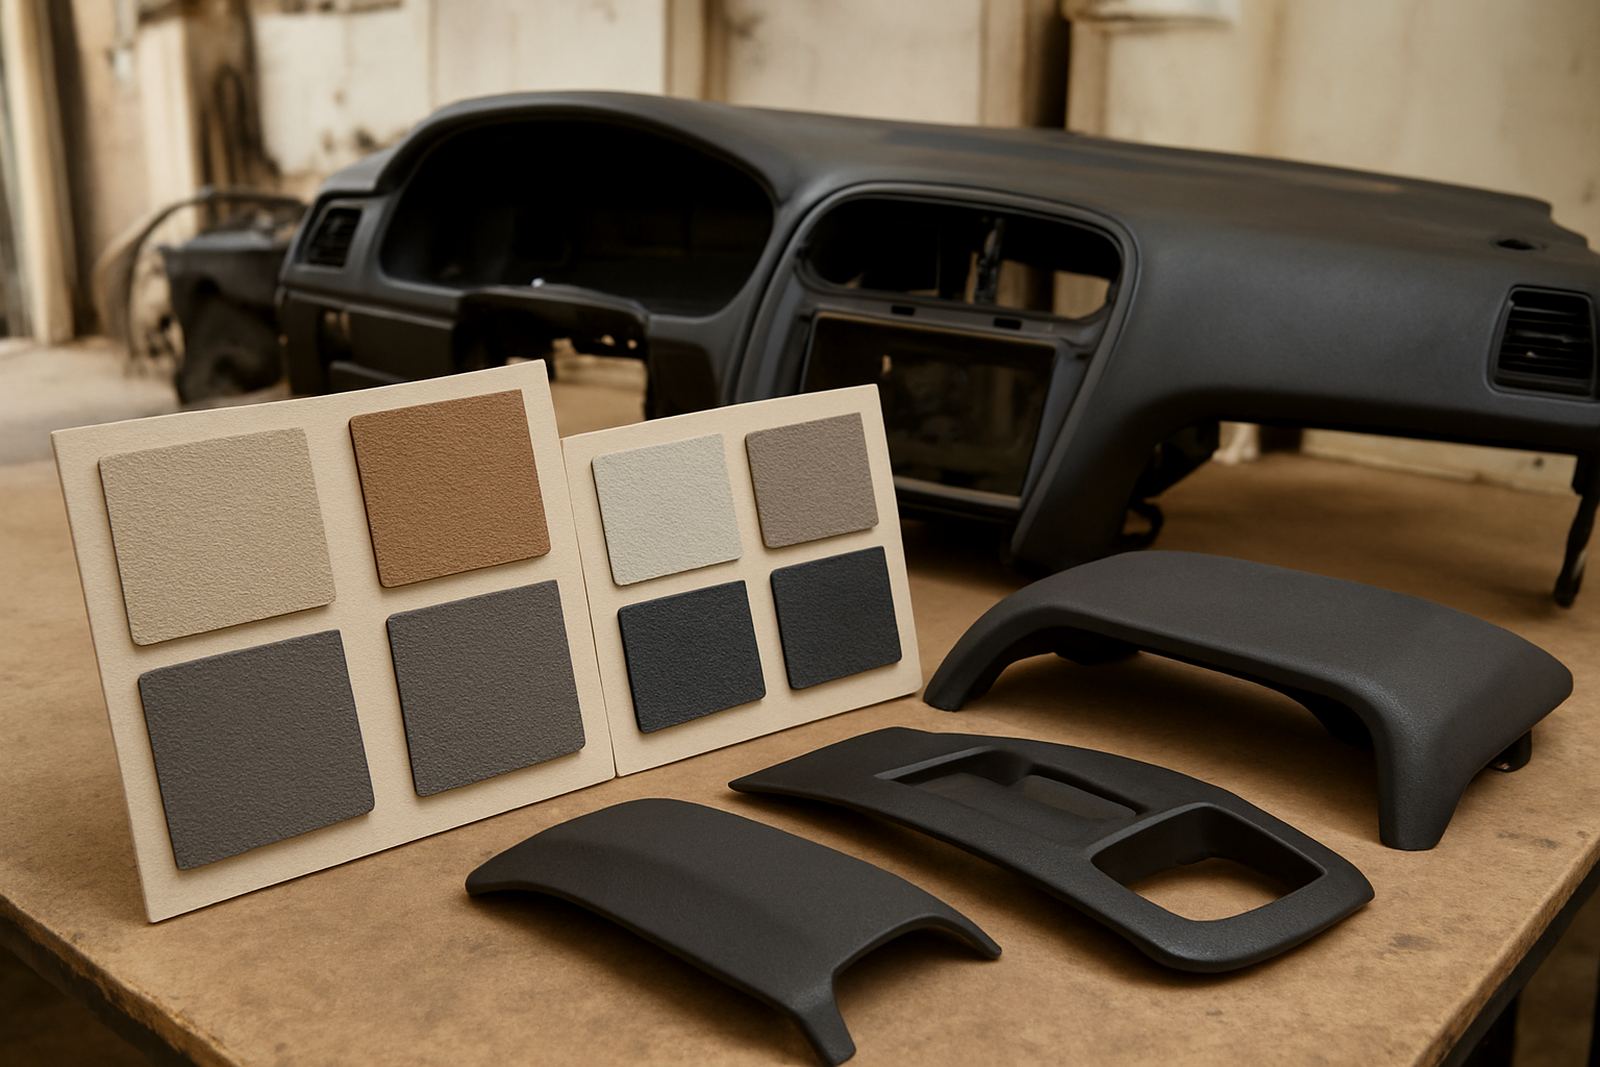
Paint-protection film is useful on high-wear points such as leading edges, bumper corners and lower sill sections. It helps reduce chips and scuffing where road grit and luggage contact are common. For interior surfaces, such as trim panels or door surrounds, a well-chosen vinyl can refresh tired areas without replacing the whole fitting.
- Use print films that stay stable under strong sunlight.
- Seal edges near steps and hinges where hands and luggage rub.
- Match gloss level across panels so the finish does not look patchy.
- Check that cleaning chemicals used by the operator will not lift edges.
On coastal routes such as Durban, moisture and salt can be harder on edges and trims than inland dust. That means the install method must suit the operating area, not just the colour chosen on the day.
Prep Work Makes the Difference
Good bus graphics start long before the film touches the body. Panels need to be washed, degreased and checked for old wax, tar or silicone residue. If a vehicle has been repaired, the paint must be fully cured before any wrap or tint goes on. Skipping prep can cause lifting, bubbles or marking under the film.
Surface preparation also includes checking rivets, mouldings and panel joins. Passenger vehicles often have more seams than smaller cars, and each seam needs a proper plan. Some areas may need relief cuts, while others should be wrapped through in one piece. A rushed install can look fine from five metres away but start failing at the edges within months.
For fleet operators, prep work should happen in a controlled sequence. One vehicle can be stripped, cleaned and measured while another is in print production. That keeps downtime lower, which matters when the bus is needed back in service by Monday morning and there is no backup.
Installation, Removal and Fleet Turnaround
Installing graphics on larger passenger vehicles takes more hands and more patience than a small panel job. Teams need enough space to work around the vehicle, access to good lighting and time to heat-set edges correctly. In our wrap bays nationwide, we plan each installation to suit the size of the unit and the route deadline.
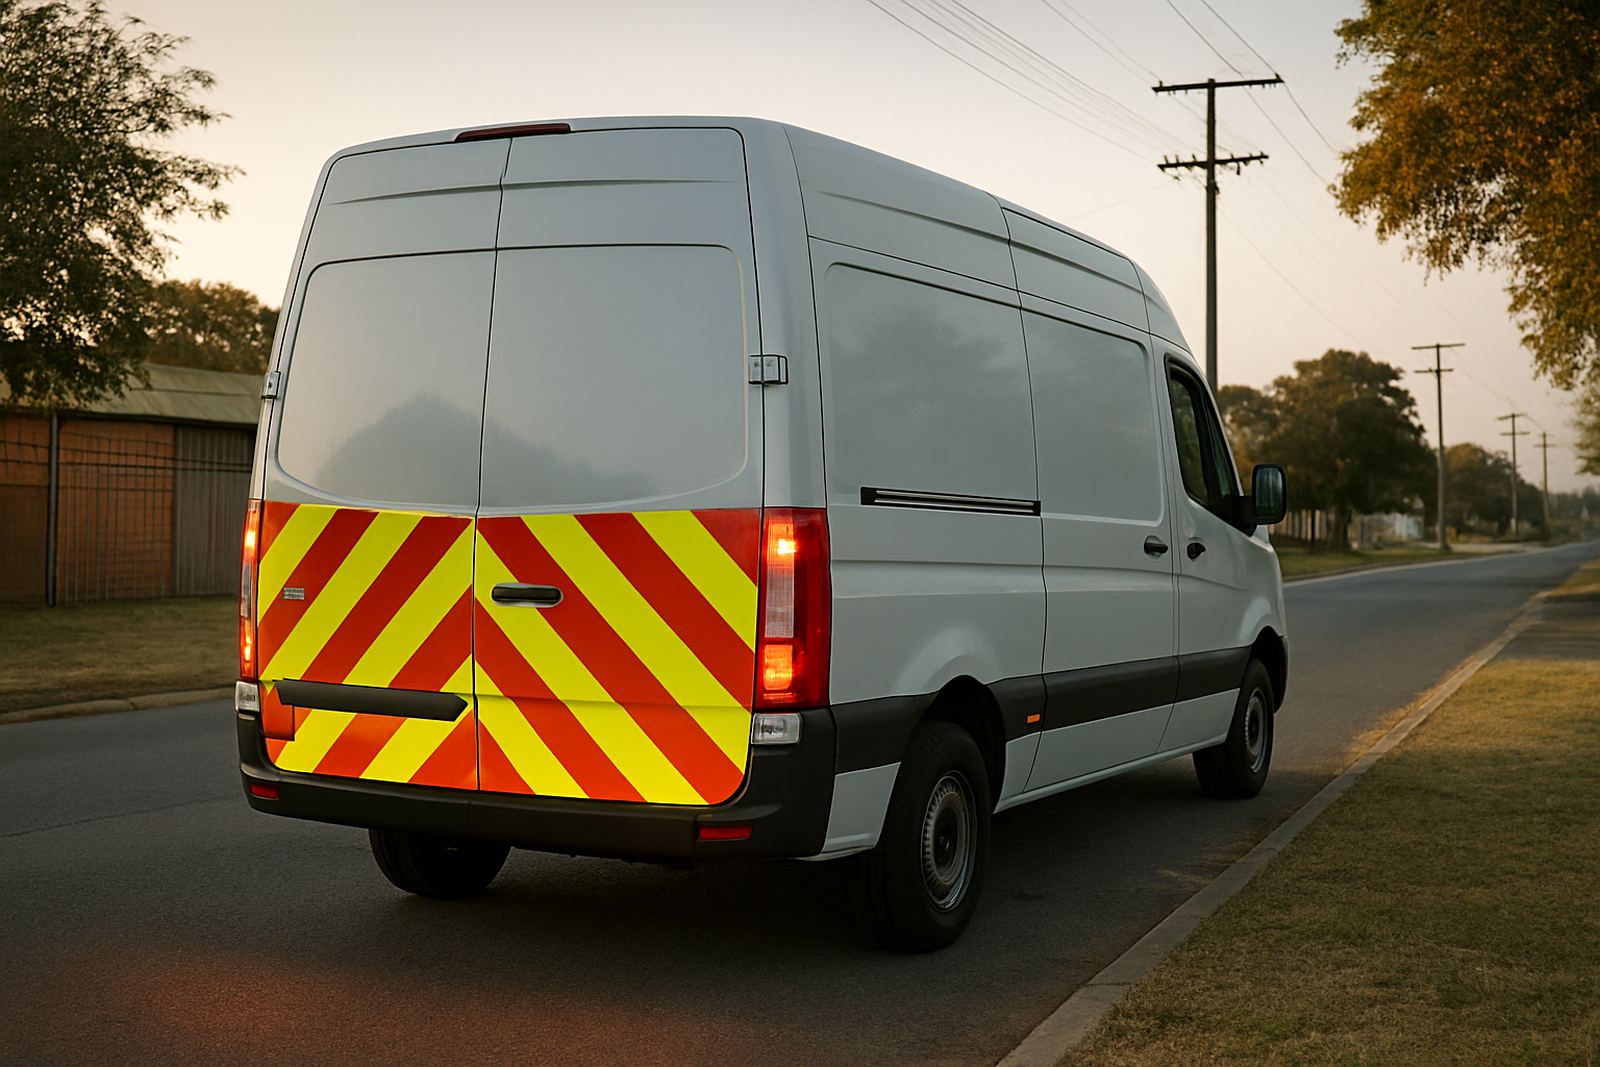
Fleet work often includes staged rollouts. A company may want only the first two buses completed for a campaign launch, with the rest following after. In that case, keeping artwork, colours and measurements standard is vital. It saves time during production and avoids slight changes from one unit to the next. That consistency is what keeps a fleet looking properly managed.
- Book removal and re-branding before the film ages too far.
- Confirm downtime windows with operations staff and drivers.
- Keep spare panels or files ready for accident repairs.
- Record the final layout for future reprints and replacements.
Wrap removal should be handled carefully, especially where old adhesive has baked in under summer heat. If a vehicle is being sold, reassigned or rebranded, a clean removal can save money and protect the paint underneath.
A Local Example for Johannesburg Operators
Consider a shuttle operator based in Kya Sand with vehicles moving daily between Sandton, Midrand and the East Rand. The buses carry staff to offices in the morning and back again after hours, so the graphics need to look professional from every angle. In this case, the layout might use large side logos, a rear route panel and partial window film for heat control, while keeping the doors clear for safety markings.
That same operator may also need aftercare support because buses are washed frequently and work in stop-start traffic. Regular checks after the first week help catch any lifting around handles or corners. Small fixes early on prevent bigger problems later. It is far easier to sort one edge than to redo half a panel.
For passenger vehicle graphics, the goal is not only appearance. It is clear communication, legal compliance and durability in real South African conditions. When those three parts line up, the bus works harder for the business and keeps the brand visible without becoming a maintenance issue.